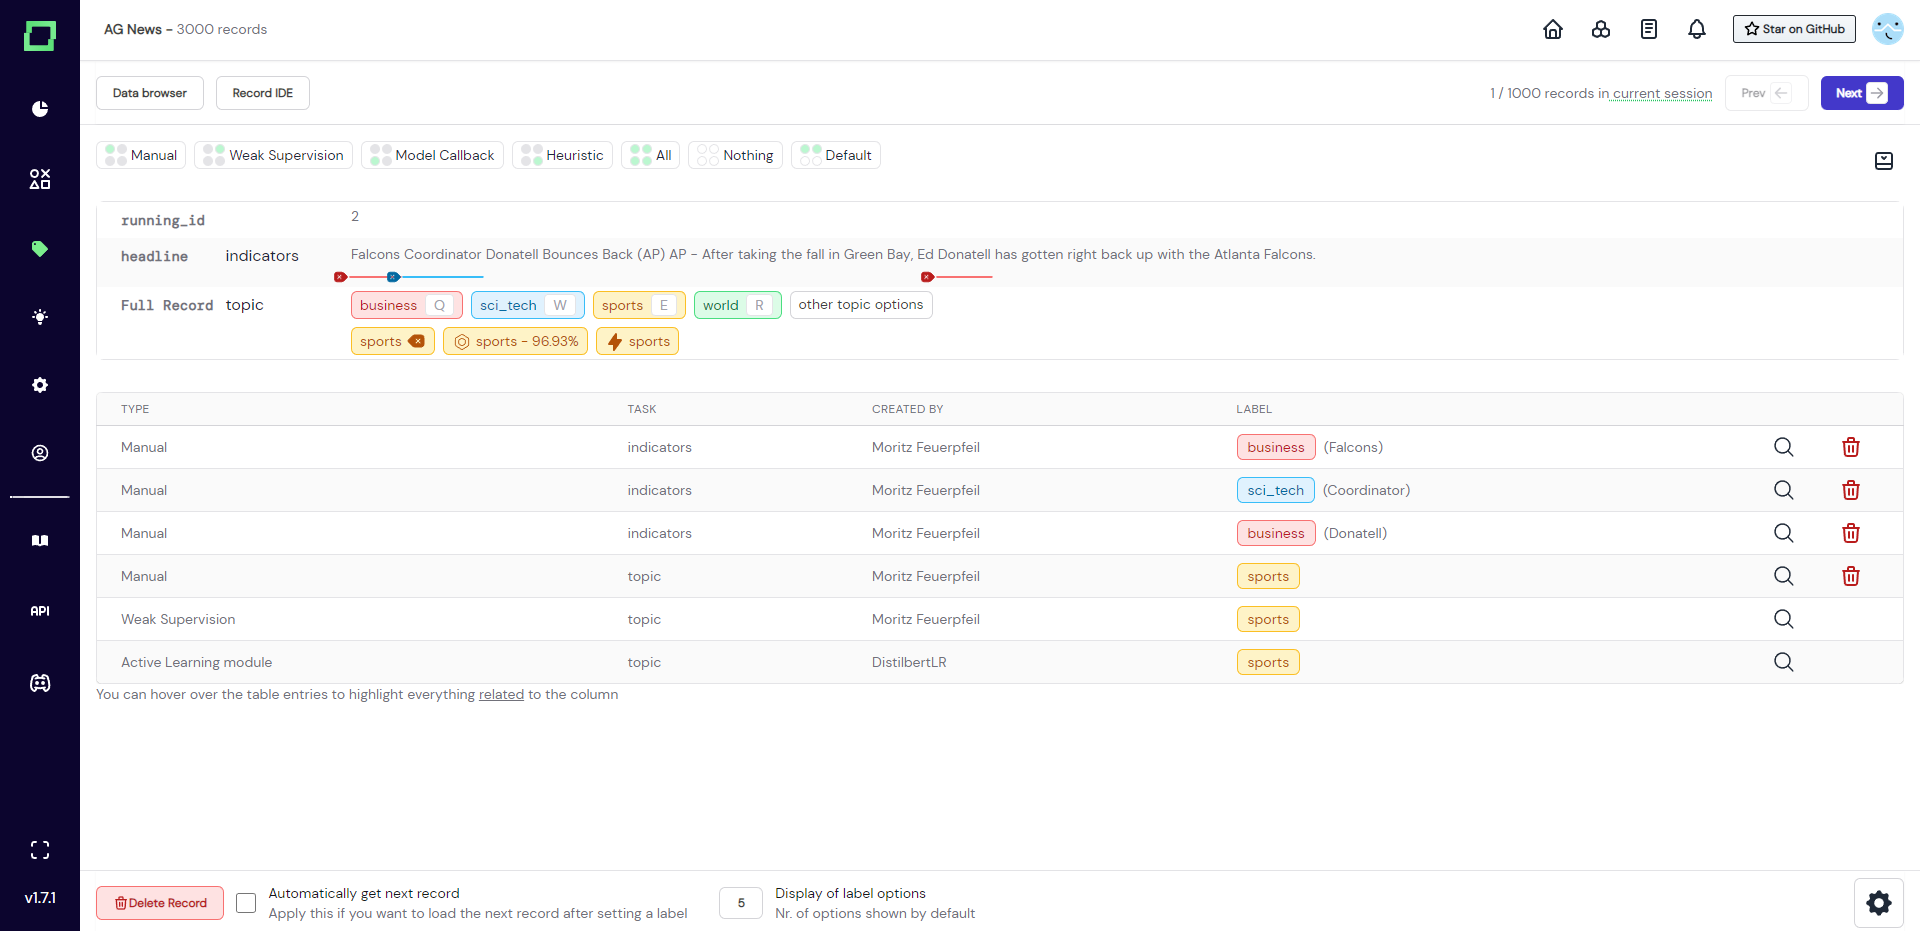
Record IDE
The record IDE lets you take a look at specific records from a programmatic point of view. From here you can prototype labeling functions, explore the spaCy Doc structure of your text attributes, or test a new regex.
Writing code
As can be seen in Fig. 2, the record IDE is split in half and consists of a code editor on the left and an output shell on the right. There is one pre-set variable called record, which is a single dictionary where the keys are the names of the attributes (same format as the input to a labeling function). You can use this variable to interact with the record that is currently viewed.
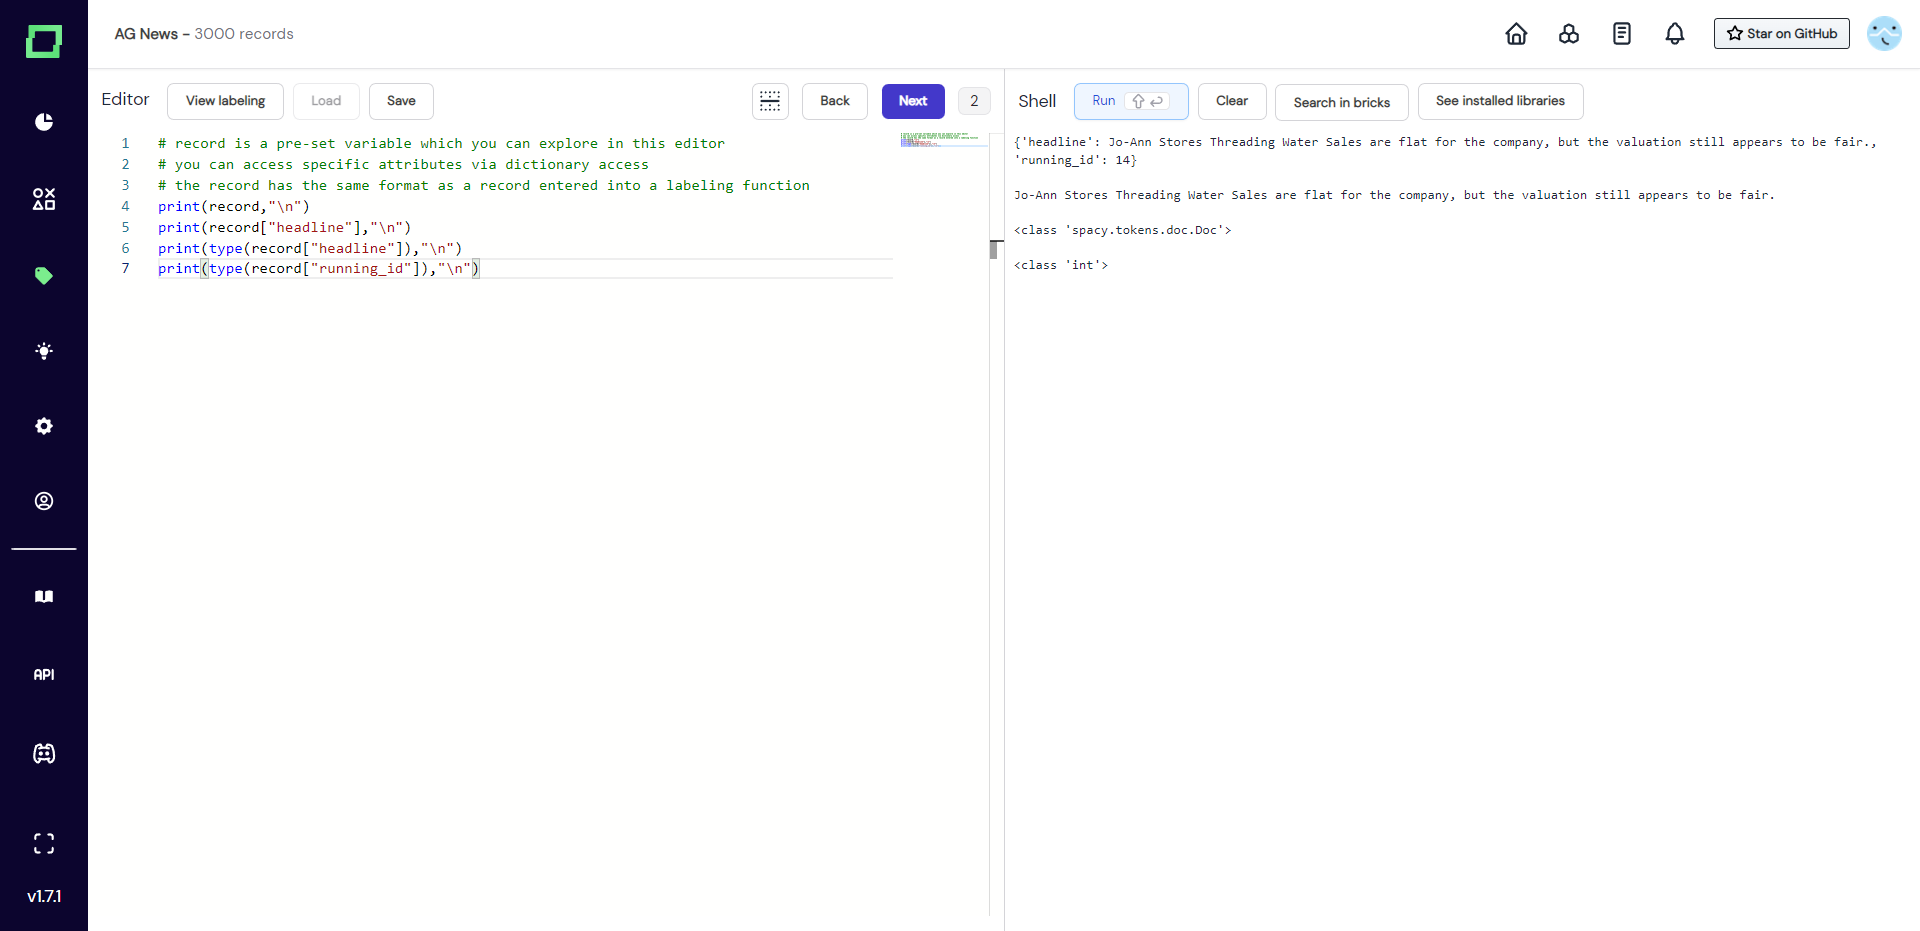
The right-most button brings you to the installed libraries that you can import and use in this IDE. They are identical to the ones for the labeling functions to allow for labeling function prototyping.
To run the code, you can either press SHIFT + ENTER on your keyboard or press the "run" button directly above the output shell.
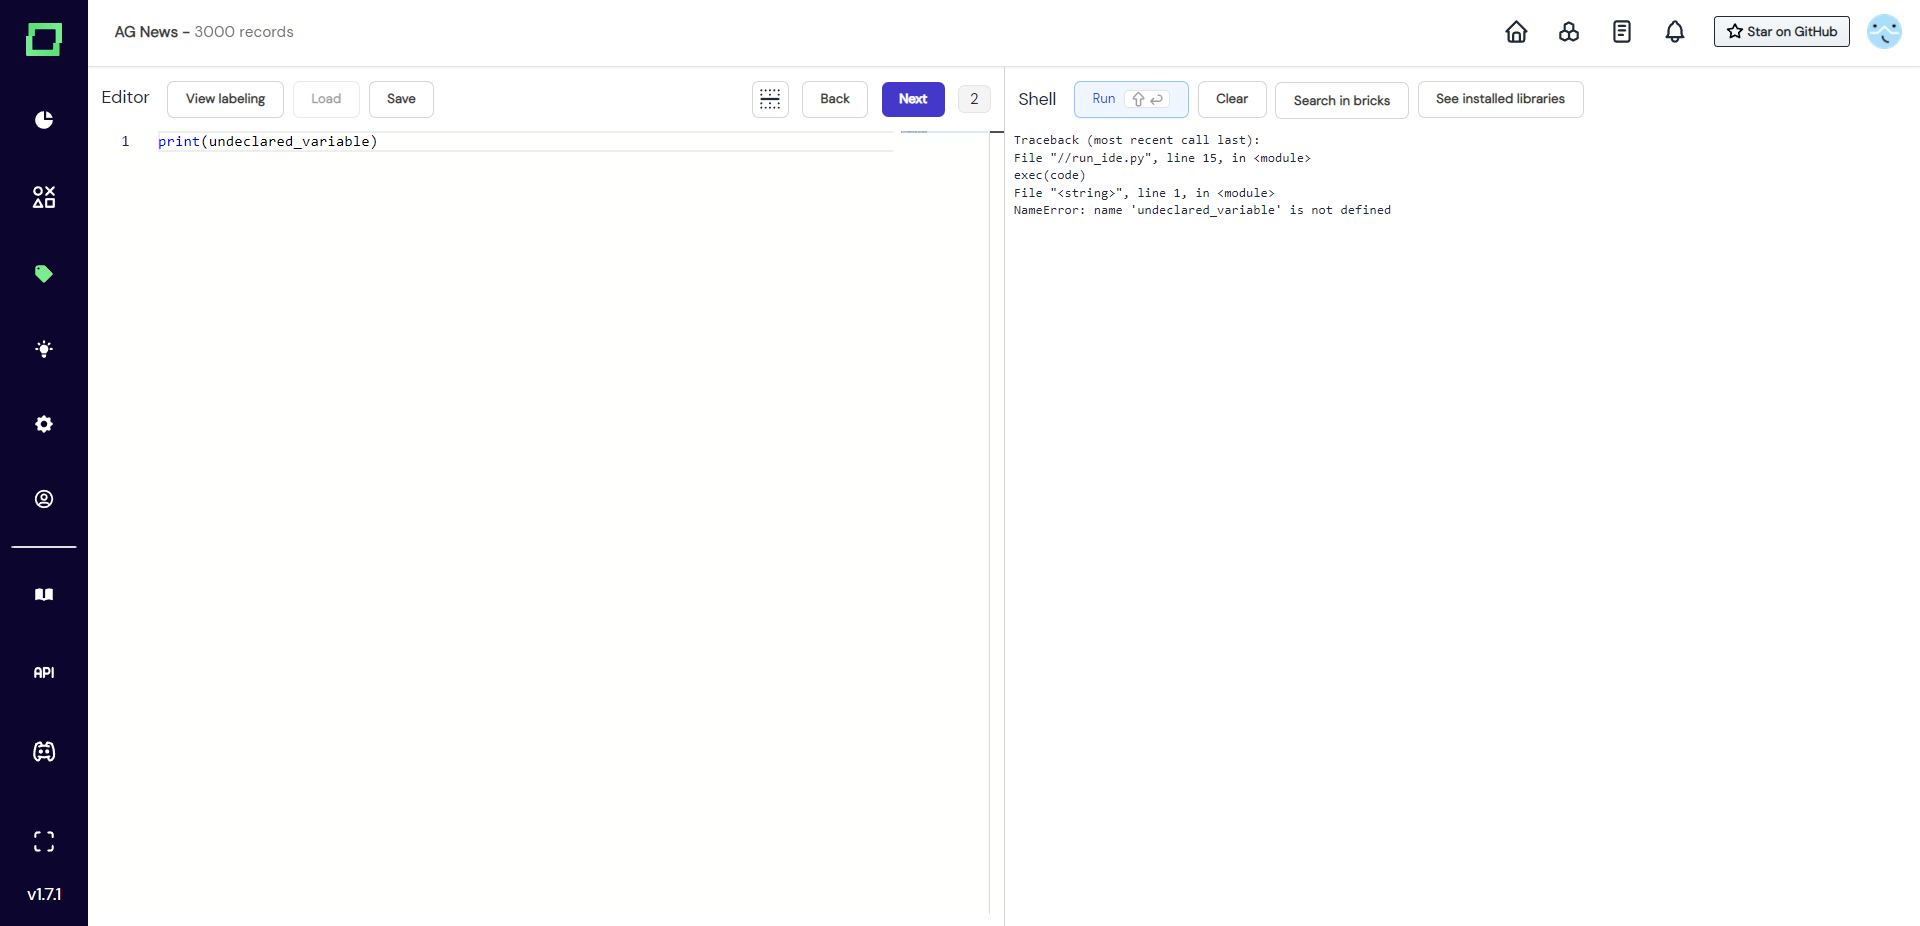
There is also built-in navigation ("back" & "next" buttons above the code editor), so you can try your code on all records of the current labeling session. After navigating to the next or previous record, your code will automatically be executed. Generally, we recommend to be careful if you experiment with rate-limited APIs in the record IDE.
Quality of life
Search in bricks
Just like the bricks integration for labeling functions, you can also use pre-written bricks modules in the record IDE for prototyping and testing. Click on the "search in bricks" button above the output shell and follow the integration. The generated code will be automatically executed once after the integration finished.
Saving and loading code
Code is only auto-saved within a single record IDE session. That means if you leave the page, the code will reset to the default print(record). But if you prototyped a labeling function that you want to save for later, you can do so by pressing the "save" button above the code editor. This will save the code to your local browser storage, which only holds a single entry.
Currently, there is no feedback on whether or not the code was saved, but don't worry about it as this is a local operation in the browser without any communication to services that could fail.