
Project creation & data upload
To start a new project, you have two options: either you create a project from scratch ("new project" button) or you already have a project that was exported as a snapshot at some point that you want to continue working on ("import snapshot" button).
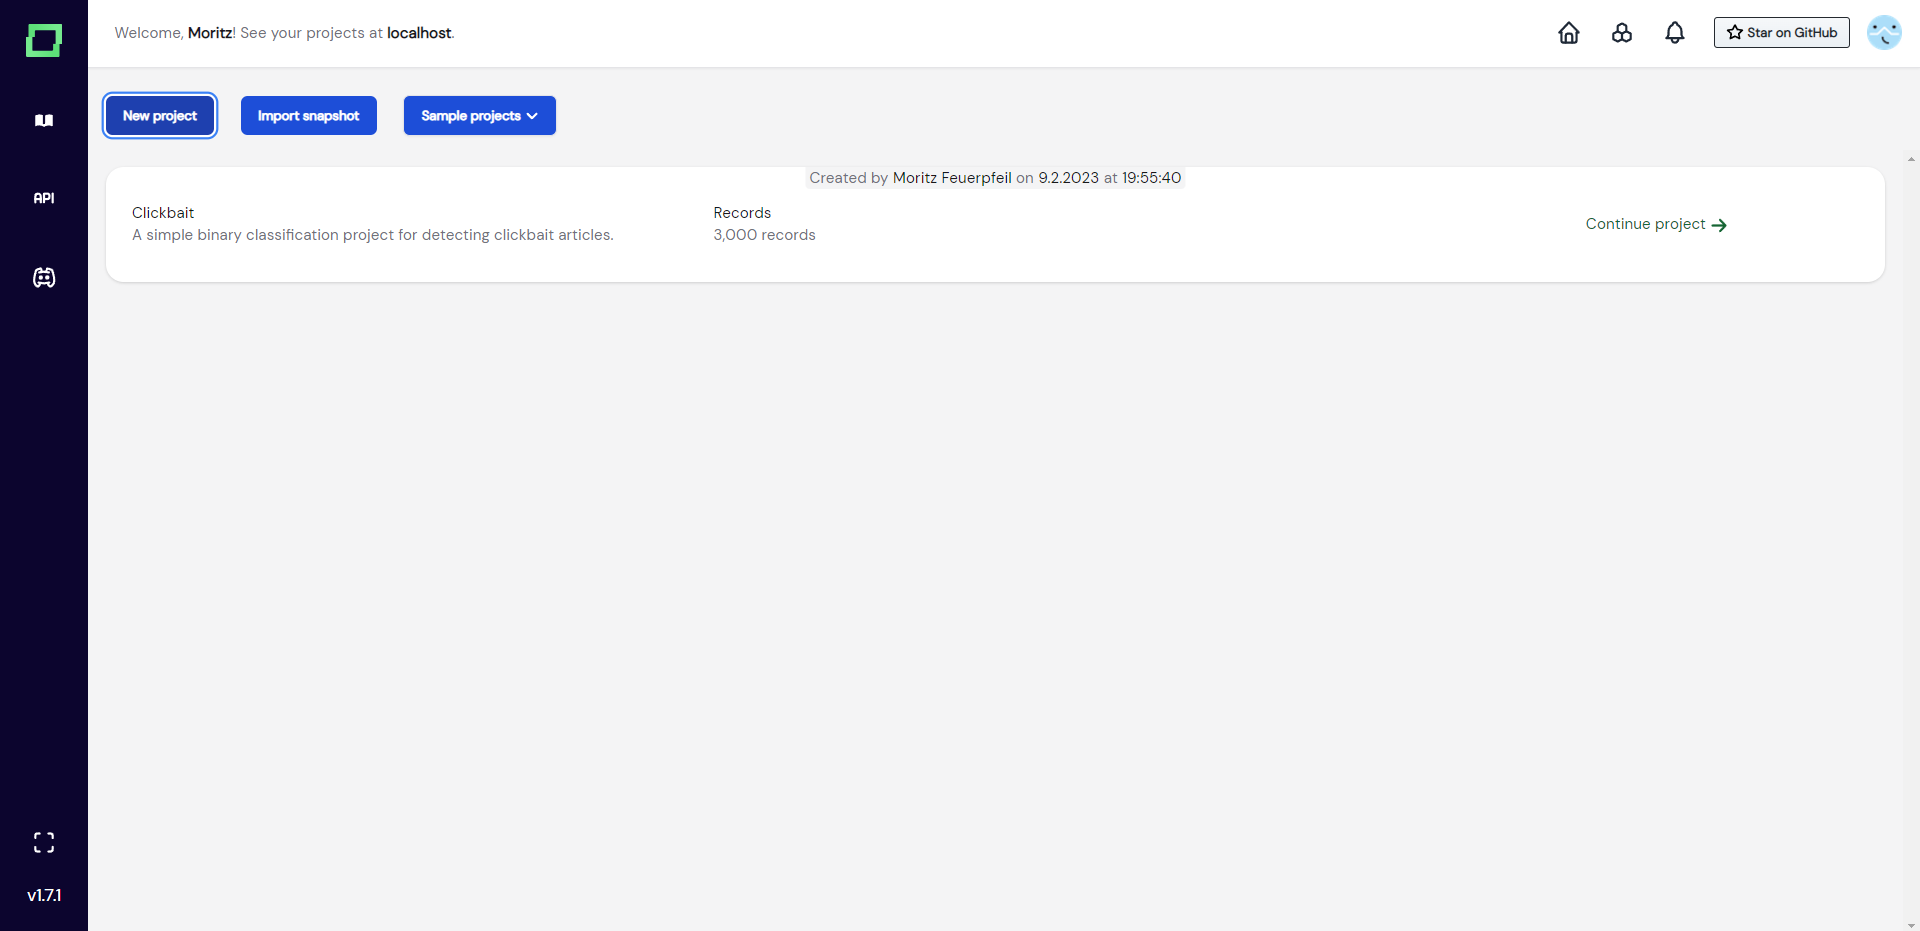
As the second option does not need any further information (you just drag and drop the project export), we will further go into detail on how to get started with a brand new project.
Project creation workflow
A project cannot be created without data, which is why you should have the desired dataset ready to go. If you are not sure if your data fits the requirements of refinery, please look at the data requirements section of this page.
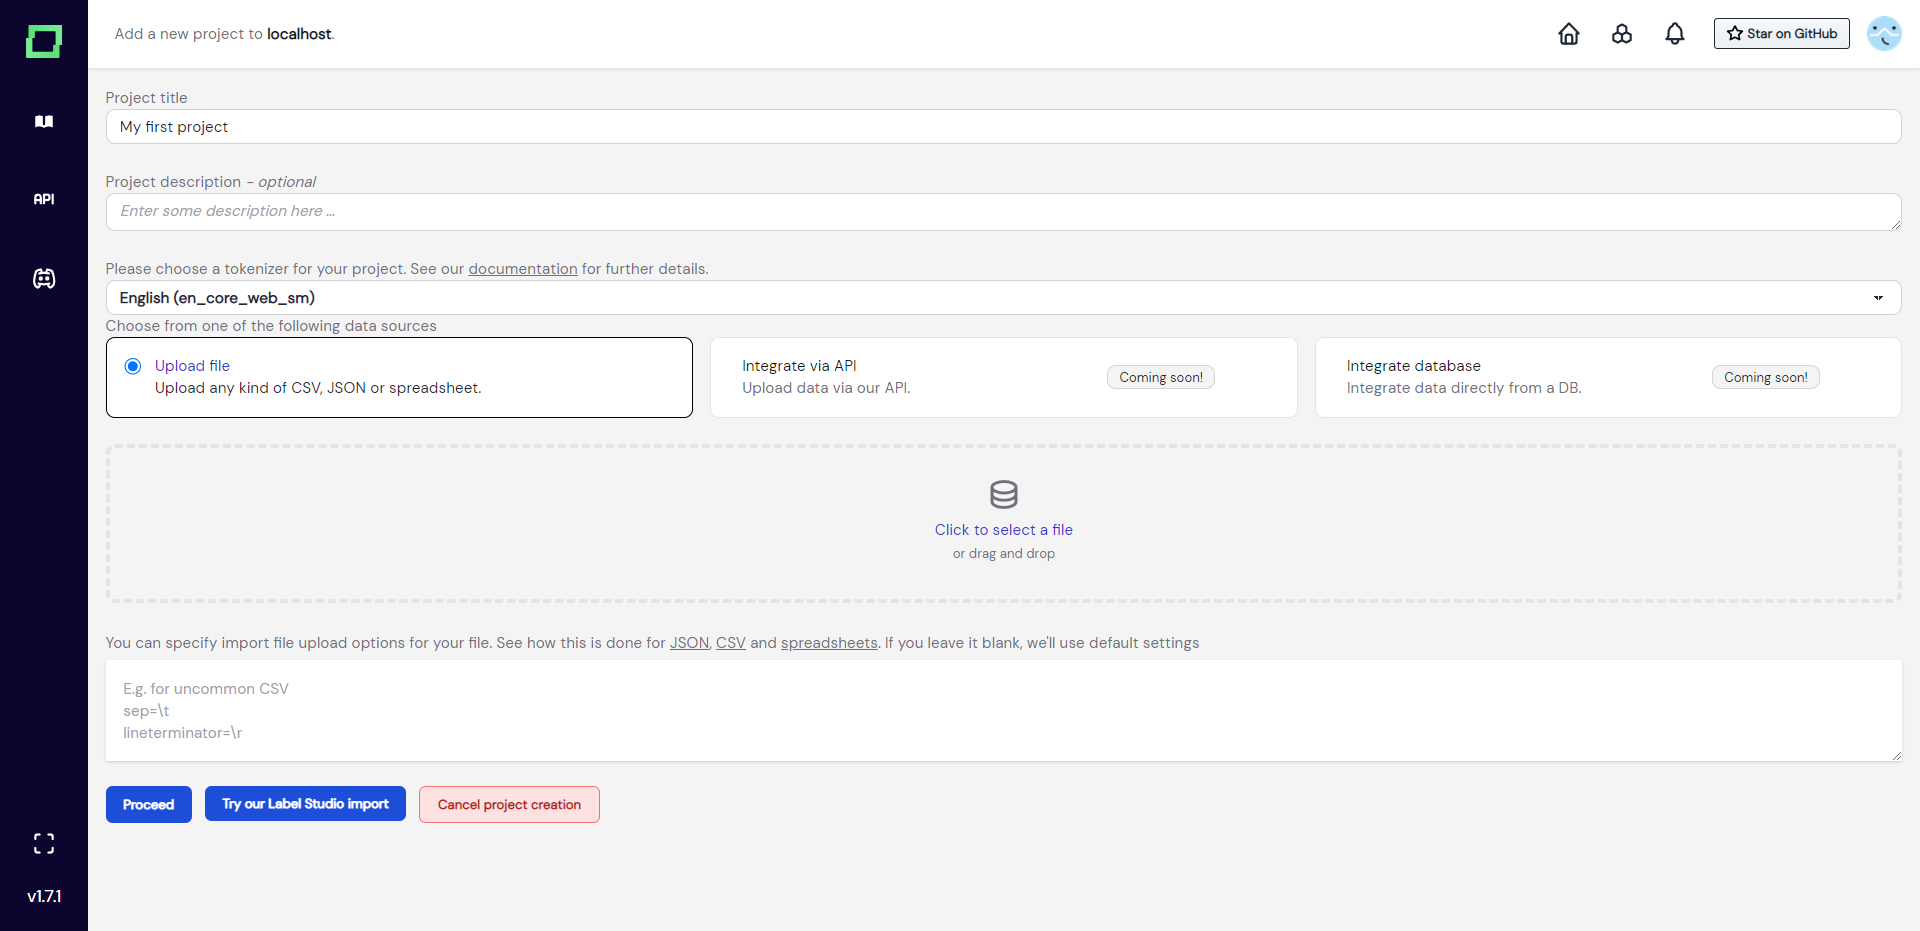
For now, we assume you have your data ready and want to create a project with it. The workflow is really straightforward as you just enter a title and description, select the right tokenizer for your text data, and upload a file.
The tokenizer serves two purposes in refinery:
- defining atomic information units in your texts, which is required for span labeling
- precomputing valuable metadata for each token, which is then available for labeling functions and other tasks
If you need a spaCy tokenizer that is not available in the selection, please add it in your configuration page. After adding it, create a new project and it should be available.
Currently, refinery supports data upload via file. In the near future, refinery will also enable uploads via API (and Python SDK) and database integrations.
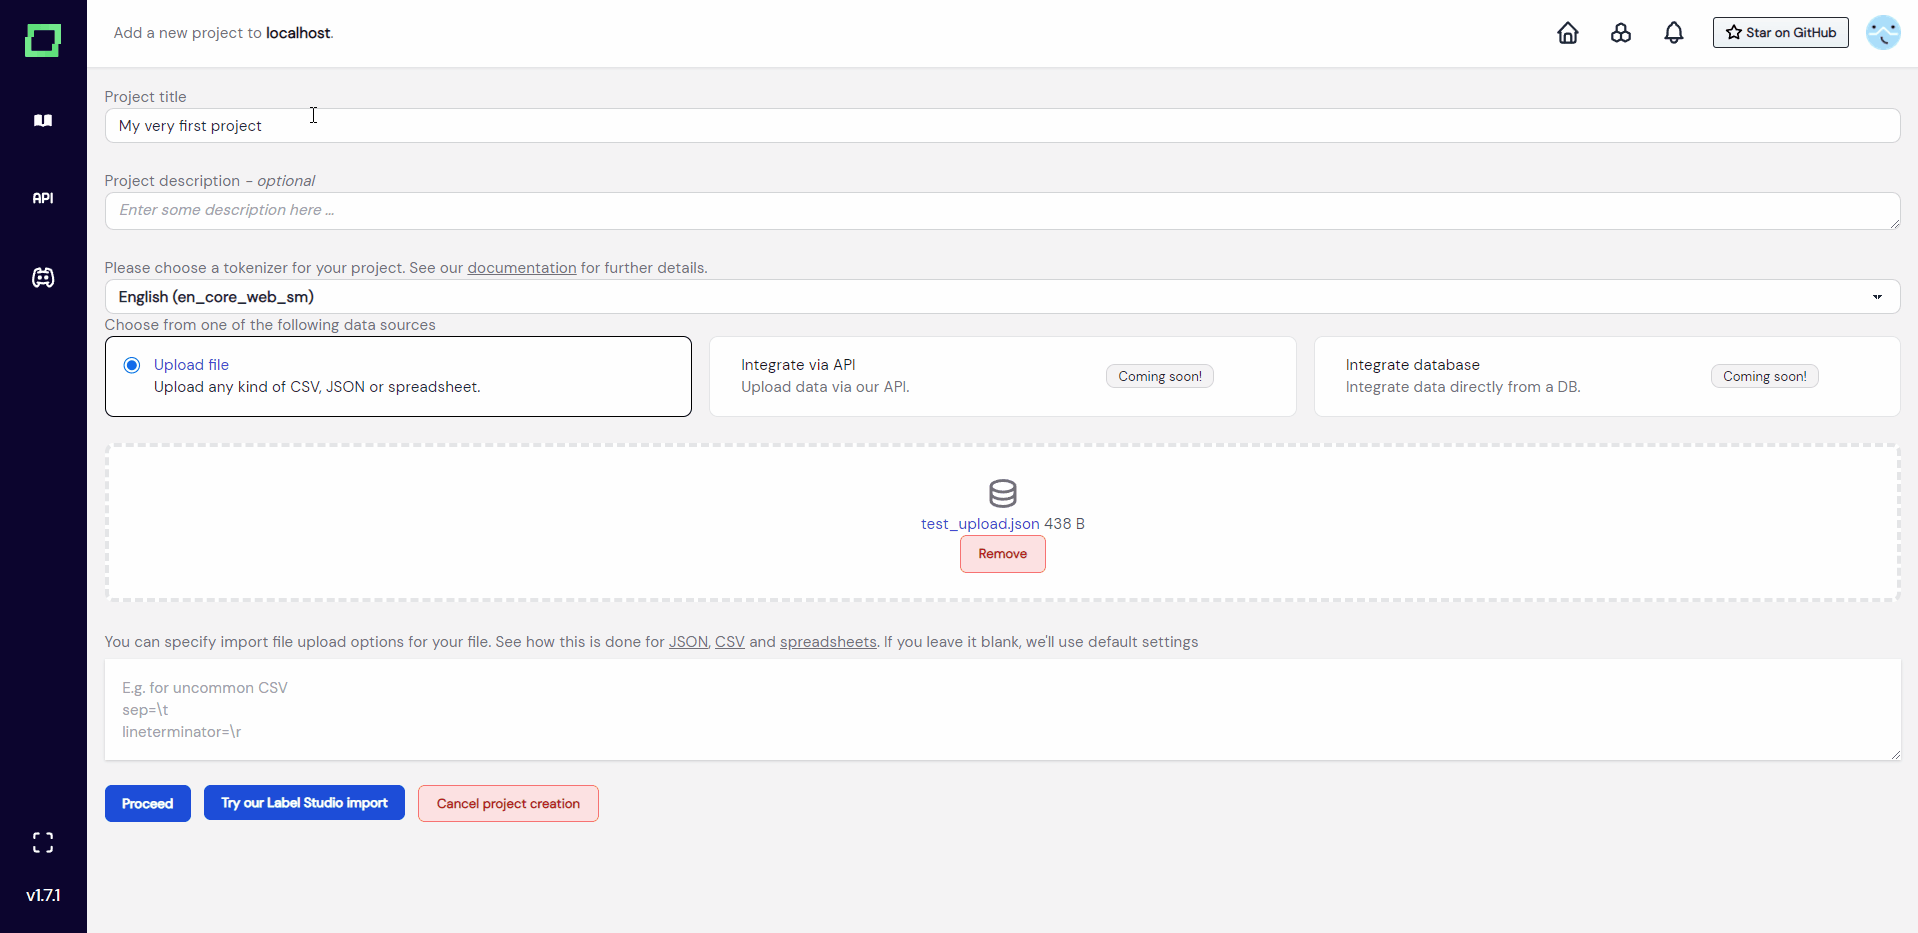
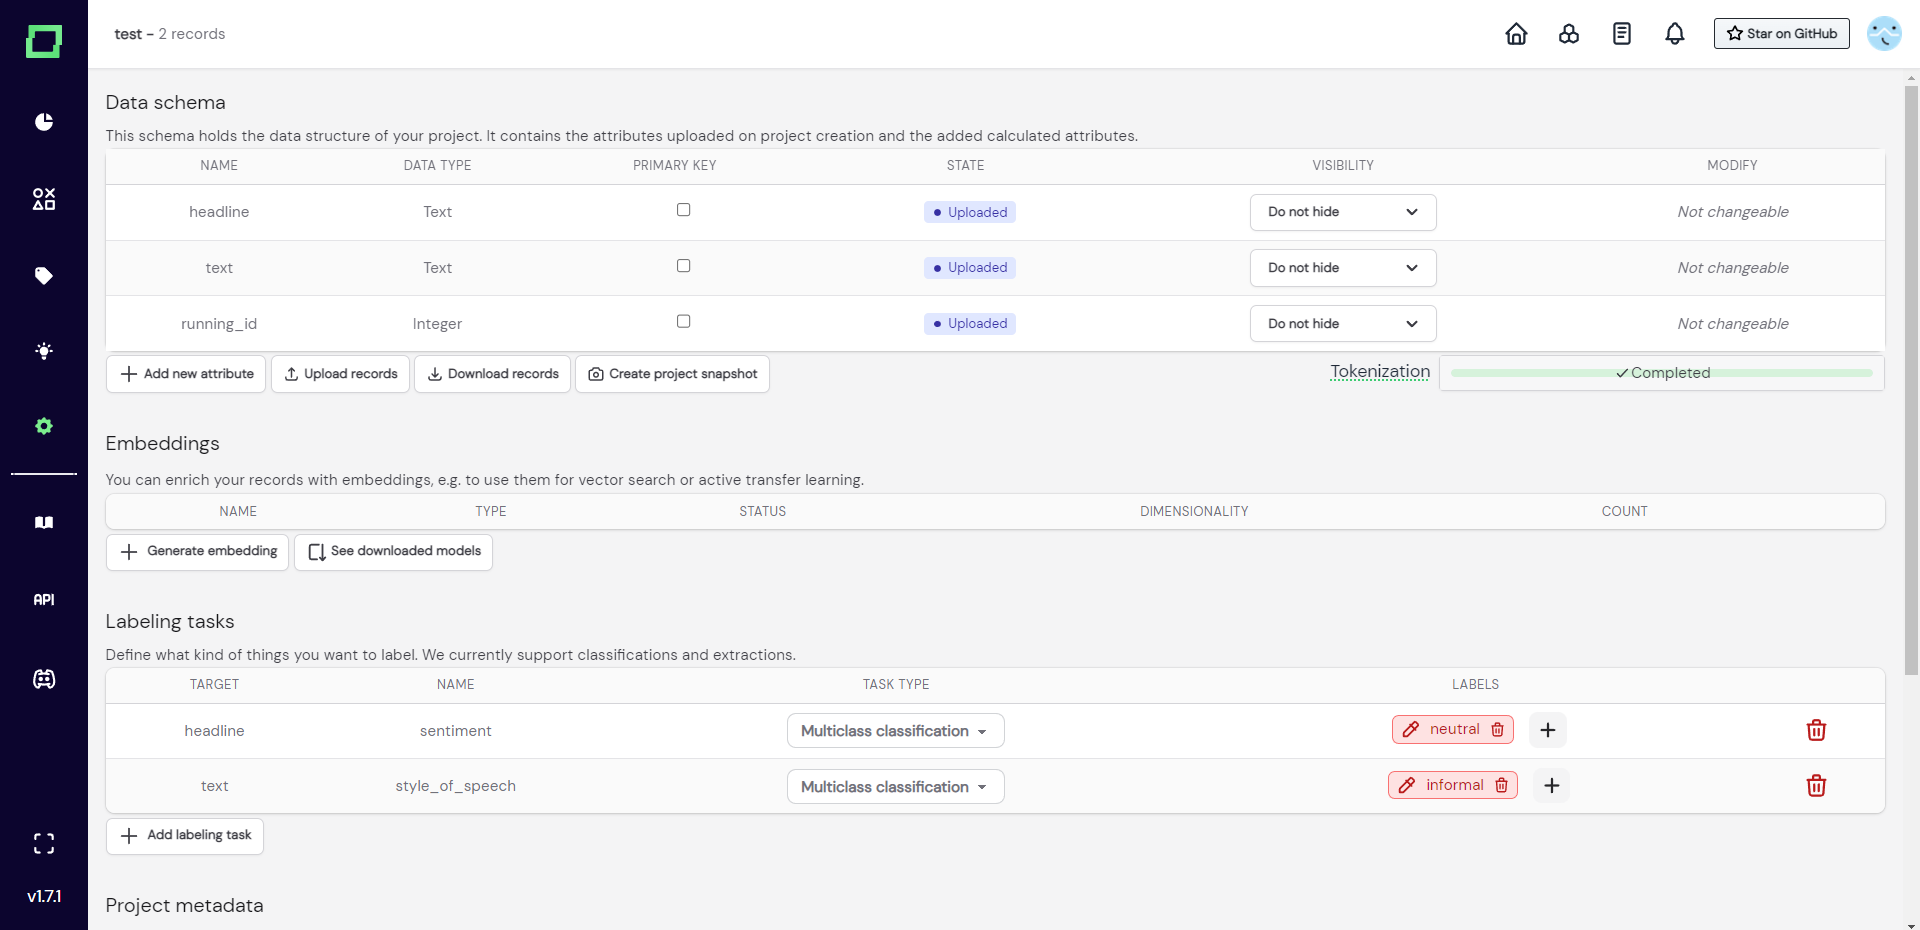
As you can see in Fig. 3, after filling in every required information and uploading your data, pressing "proceed" will redirect you to the settings page of the freshly created project. The tokenization process is displayed below the record schema, which in this case completed instantly because our test_upload.json just consists of four records. Make sure to select the primary key of your data directly after the project creation.
[
{
    "headline": "Mike Tyson set to retire after loss",
    "running_id": 0
},
{
    "headline": "Iraqi vote remains in doubt",
    "running_id": 1
},
{
    "headline": "Conservatives Ponder Way Out of Wilderness",
    "running_id": 2
},
{
    "headline": "Final report blames instrument failure for Adam Air Flight 574 disaster",
    "running_id": 3
}
]
If you are wondering what to do next, why not visit our quickstart? It guides you through the application and you will learn a ton about refinery in the meantime.
Data requirements
By default, the open-source version of refinery imposes some changeable restrictions on the data you upload, namely the maximum amount of records, the maximum amount of attributes, and finally the maximum amount of characters for a record. Visit the documentation of the configuration page to see if your data fulfills these requirements and, if necessary, change them to your needs.
If you are within the set limits, we can now proceed to look at the data formats. You can upload CSVs, JSONs, or Excel spreadsheets. In the backend, the uploaded file is processed with pandas, so you can specify import options for your files just as you would for reading data frames. Just input them into the text box below the upload field (see Fig. 2). Each option must be in its own line and you do not have to use quote characters to symbolize strings. If you're not sure which parameters you can specify, have a look at the documentation pages (JSON, CSV, spreadsheets).
Refinery offers support for the following datatypes: category, text, integer, float, and boolean. Currently, there is no support for date- or time-related data types.
Only text attributes are available for tokenization and embedding creation.
Uploading (partially) labeled data
If you already have (partially) labeled data, you can add these labels to the uploaded file but must follow a certain structure. Refinery groups labels in so-called labeling tasks, which need a name and a target. The target can either be a single attribute or the whole record.
To add the labels to your data, you have to add an attribute with the following schema: $attribute__$name, where the values of this attribute are the labels themselves. If you don't have attribute-level labels, you can just leave the $attribute empty, which will be then recognized as a label for the full record.
Example JSON for attribute-level classification
[
    {
        "headline": "Mike Tyson set to retire after loss",
      	"text": "He lost and went >SEE YA, IM OUT<, lol",
        "running_id": 0,
        "headline__sentiment": "neutral",
      	"text__style_of_speech": "informal"
    },
    {
        "headline": "Iraqi vote remains in doubt",
      	"text": null,
        "running_id": 1,
      	"headline__sentiment": null,
        "text__style_of_speech": null
    }
]
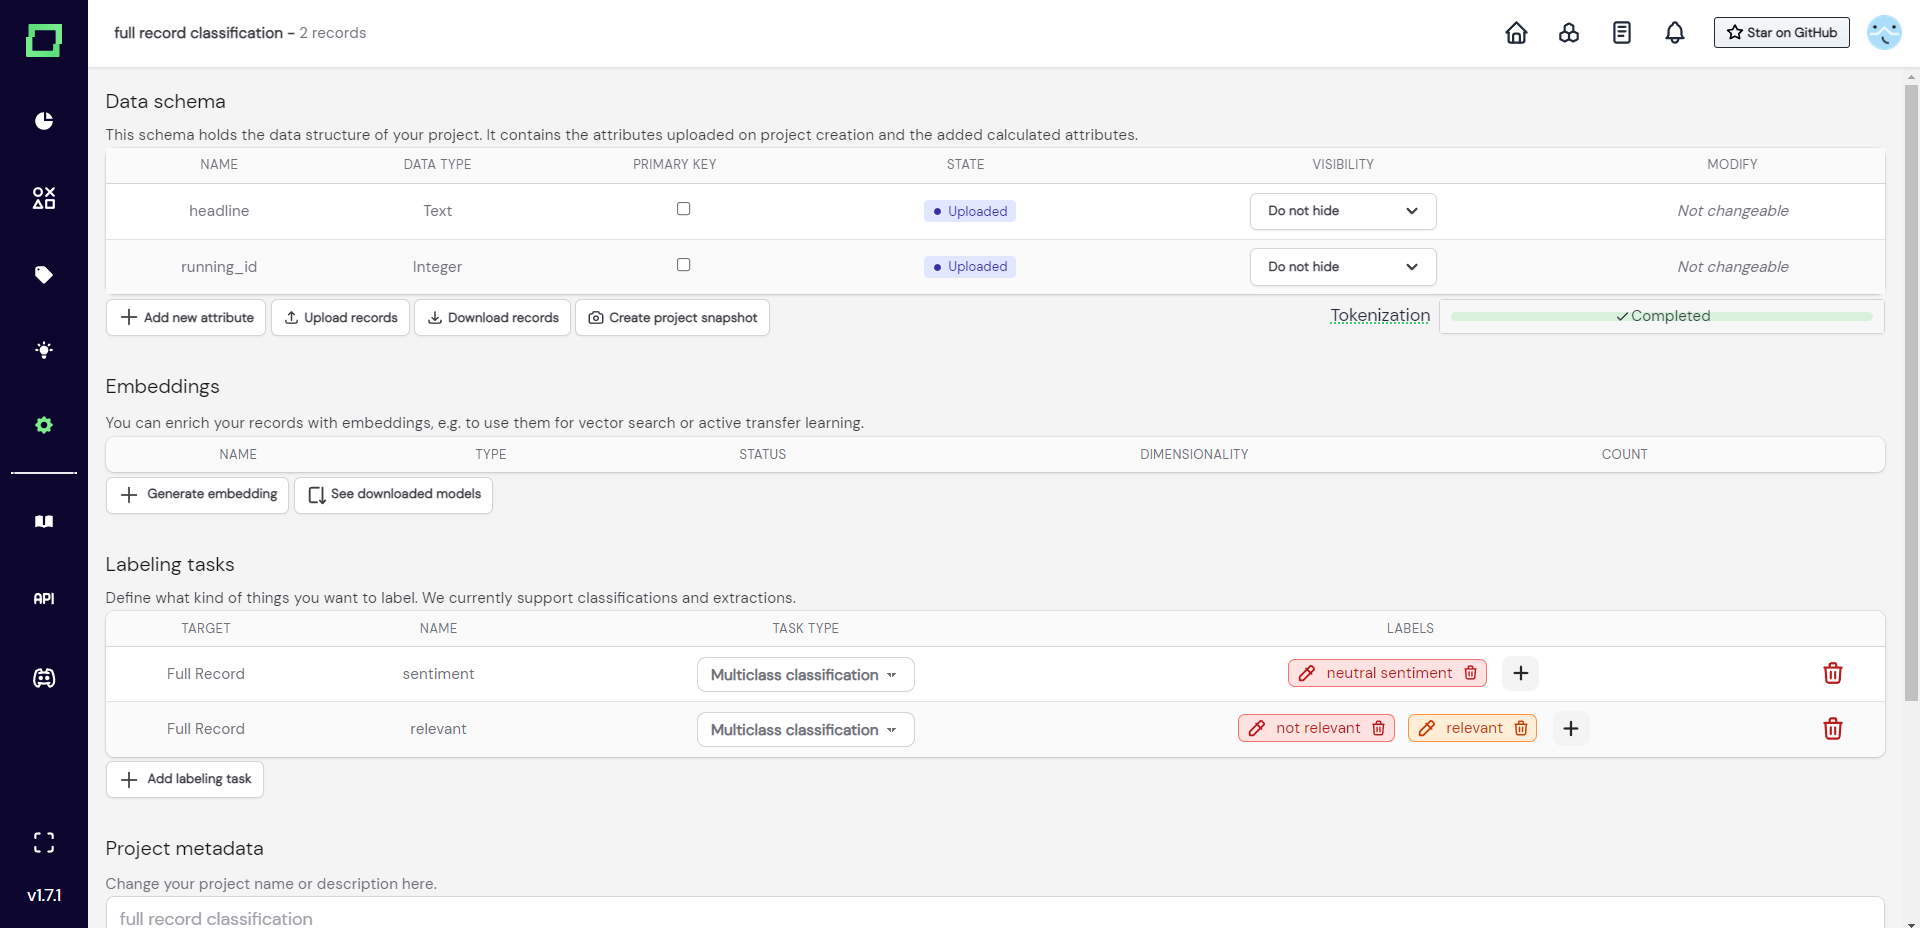
Example JSON for full record classification
[
    {
        "headline": "Mike Tyson set to retire after loss",
        "running_id": 0,
        "__sentiment": "neutral sentiment",
        "__relevant": "not relevant"
    },
    {
        "headline": "Iraqi vote remains in doubt",
        "running_id": 1,
      	"__sentiment": null,
          "__relevant": "relevant"
    }
]
Uploading more data later during the project
You can upload more data to the project at all times by visiting the settings page. The new data must have the same signature (amount, names, and types of attributes) and cannot violate the primary key restrictions that must be set on your data. If you have not set a primary key yet, you should do that because it is the only way to avoid duplicates!
[
    {
        "headline": "What Should You Bring To Your Office's White Elephant Gift Exchange",
        "running_id": 5,
        "__sentiment": "neutral sentiment",
        "__relevant": "not relevant",
        "__clickbait": "clickbait"
    },
    {
        "headline": "Kim Sets a Skating Record and Wins Her First World Title",
        "running_id": 4,
      	"__sentiment": "neutral sentiment",
        "__relevant": "relevant",
        "__clickbait": "not clickbait"
    }
]
You can, however, add new labeling tasks and labels by uploading new data, which is illustrated in Fig. 6, where the project of Fig. 5 is extended with the new more_data.json data.
The running_id attribute
There is a lot of value in having a running ID attribute in refinery as it allows you to filter your data with simple integers. If refinery detects that you do not have an integer attribute in your data, refinery automatically creates a running_id attribute. In case you do not want to see that attribute, you can always hide it using the attribute visibility settings.