
bricks integration
In refinery, sometimes you might want to run a code snippet for which there already is a brick module. To make it easier for you to know what brick modules are available to be imported in refinery, there is a bricks integration feature that helps you to import a brick module for your use case. The integrator asks you to assign a value to the user-defined variables or change the default values of the variables as needed. Once provided, the code is ready to be run in refinery.
An important thing to remember is that the bricks integration is highly dependent on the refinery version you might be using. If you are using an older version of refinery, chances are that you cannot access some of the brick modules which are only compatible with the newer version. The refinery version is visible on the bottom left panel of refinery.
This section provides a demonstration of using bricks in a refinery project using the bricks integration. For this documentation, we will use the “language detection” brick module.
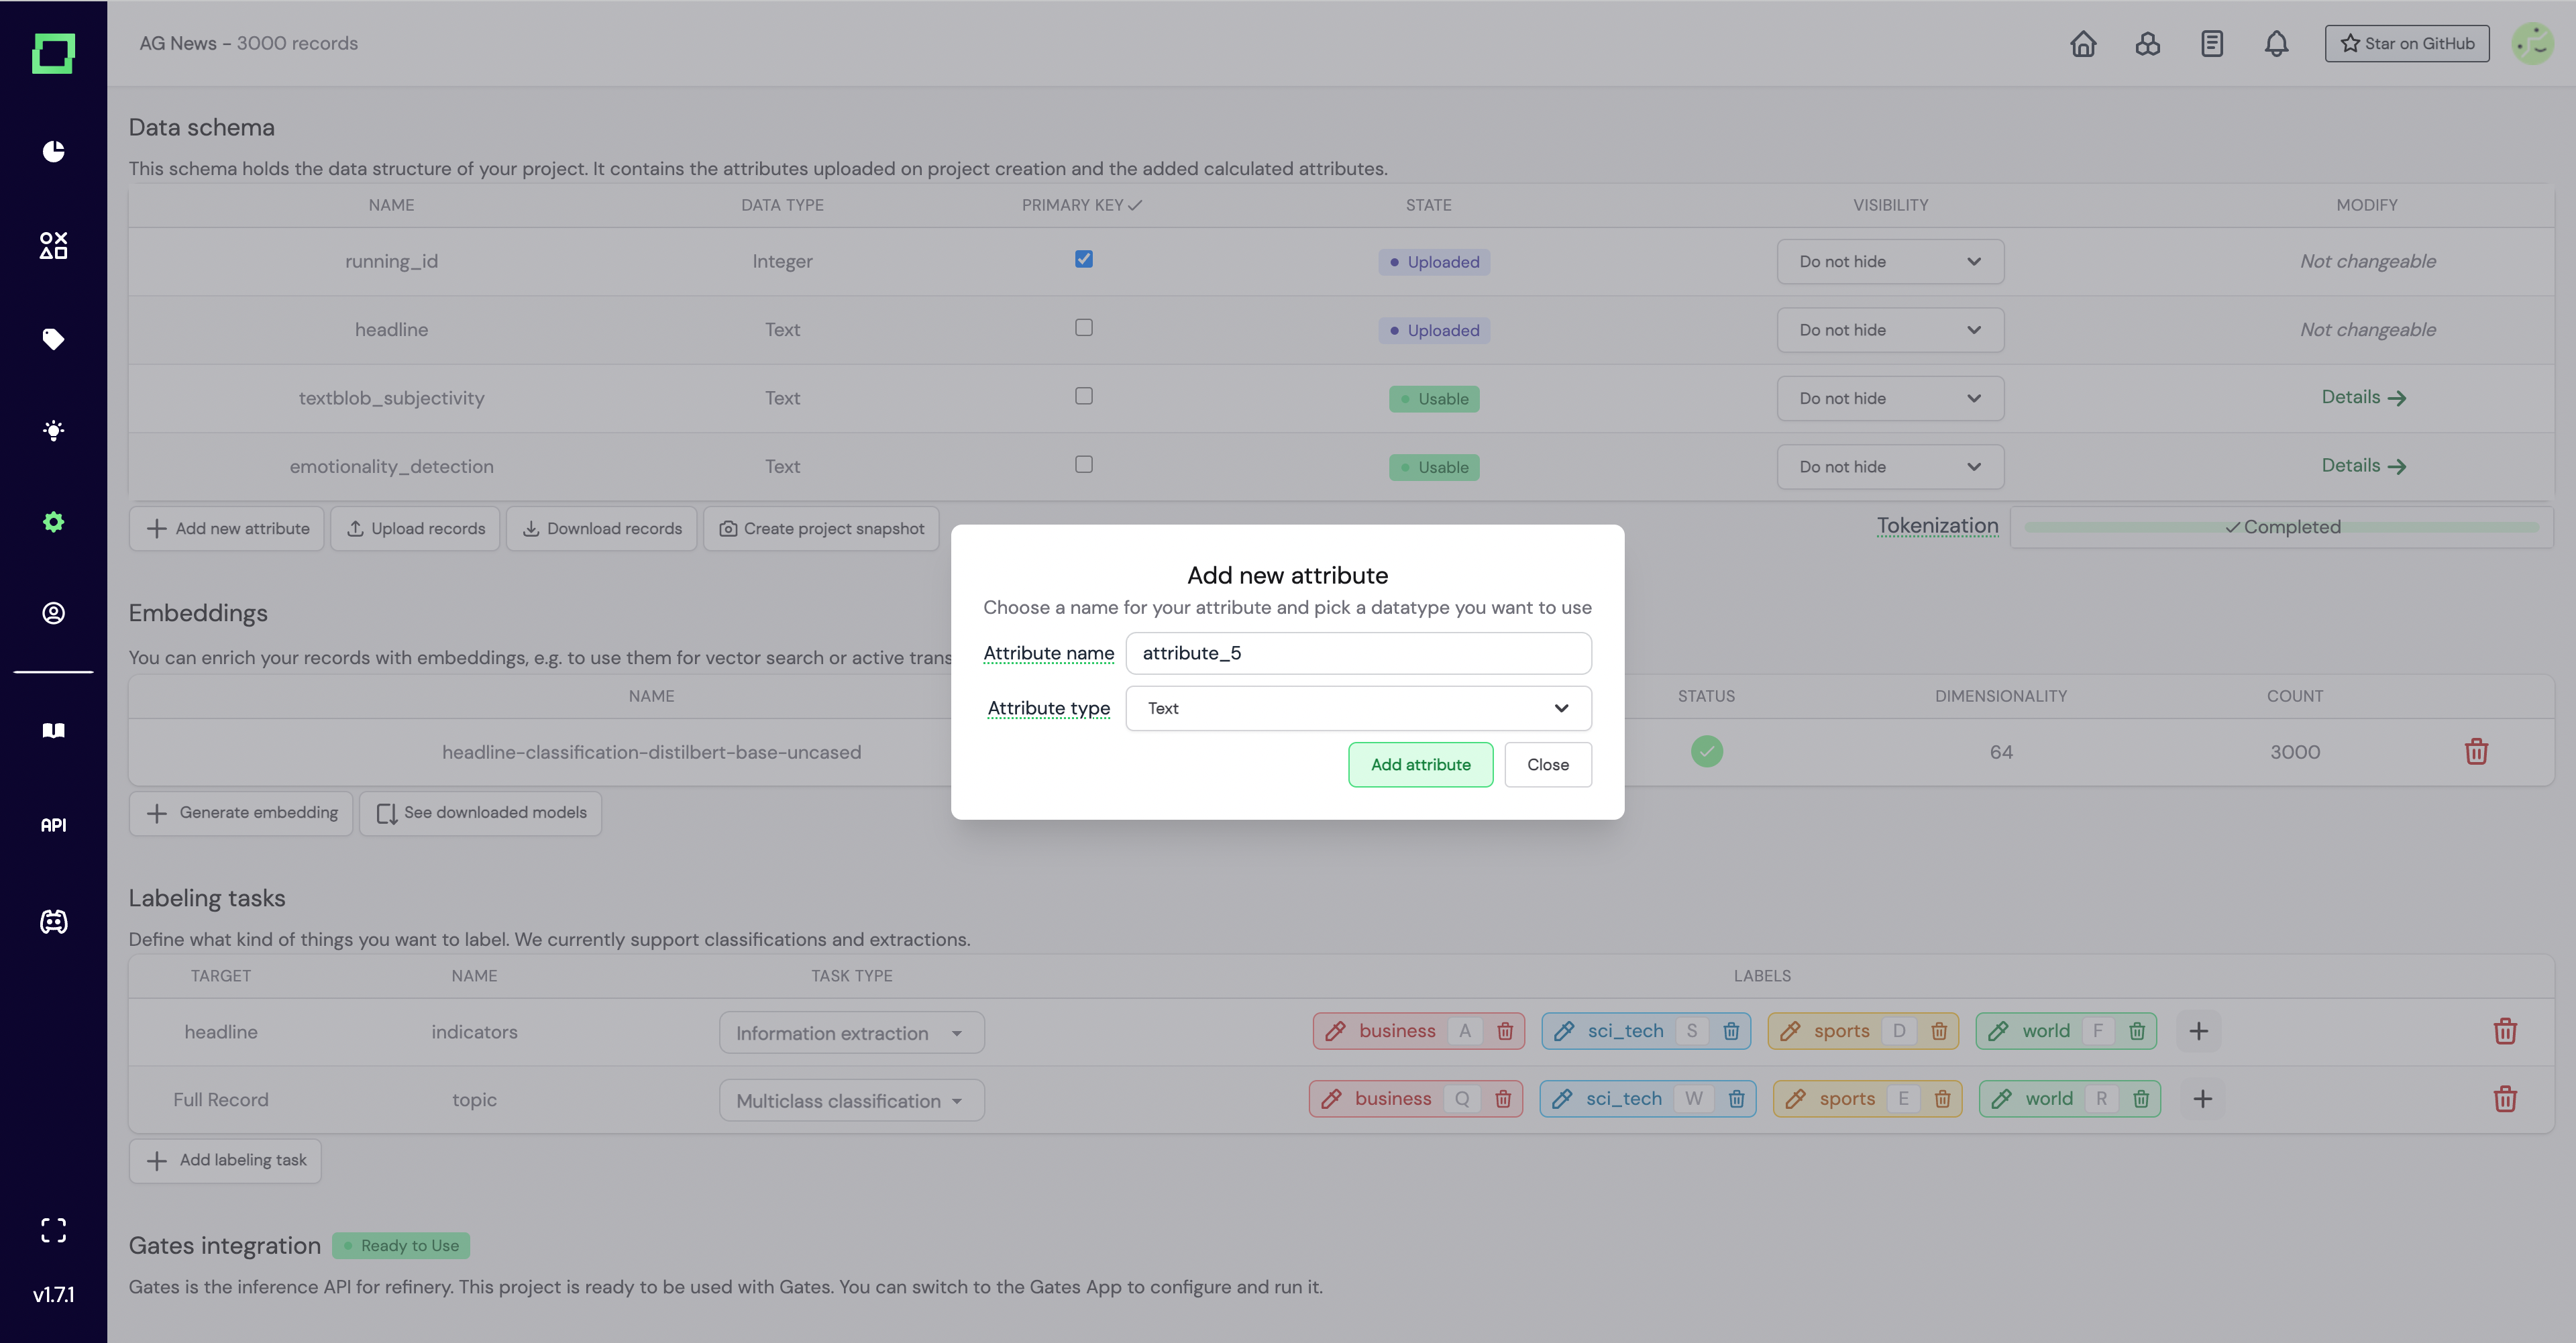
For starters, we can create a new attribute on the settings page by clicking the Add new attribute button.
Once you click Add attribute you will be redirected to this newly created attribute page, where the editor would look like this:
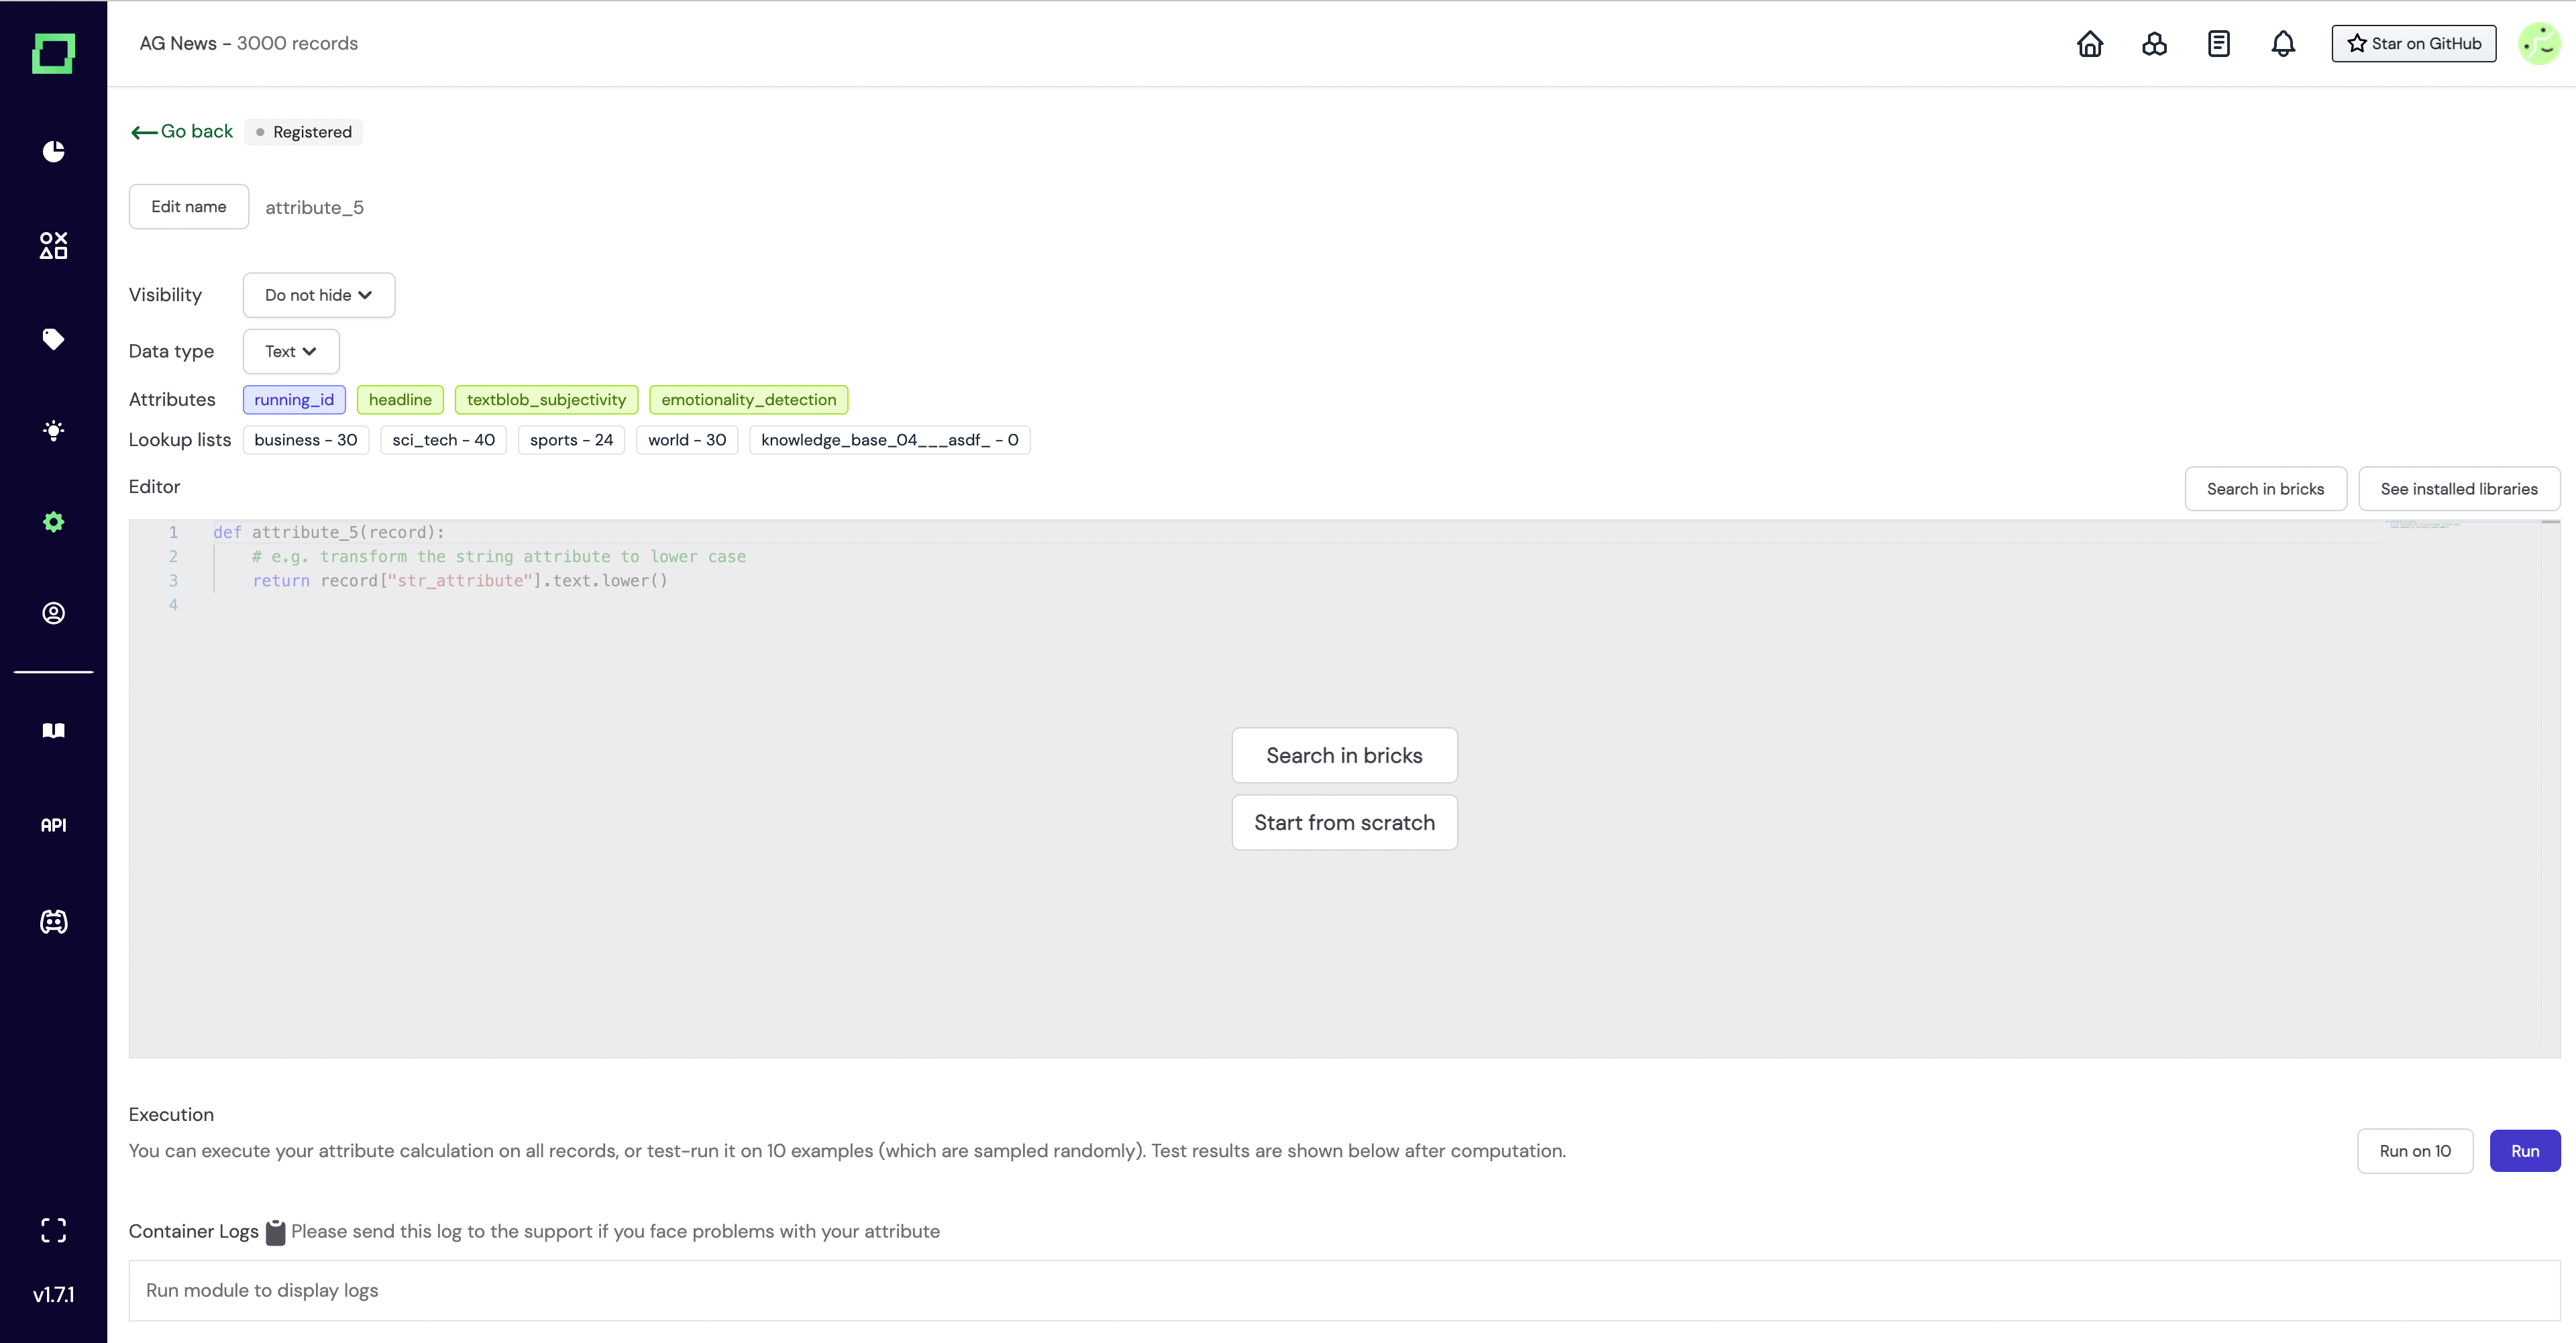
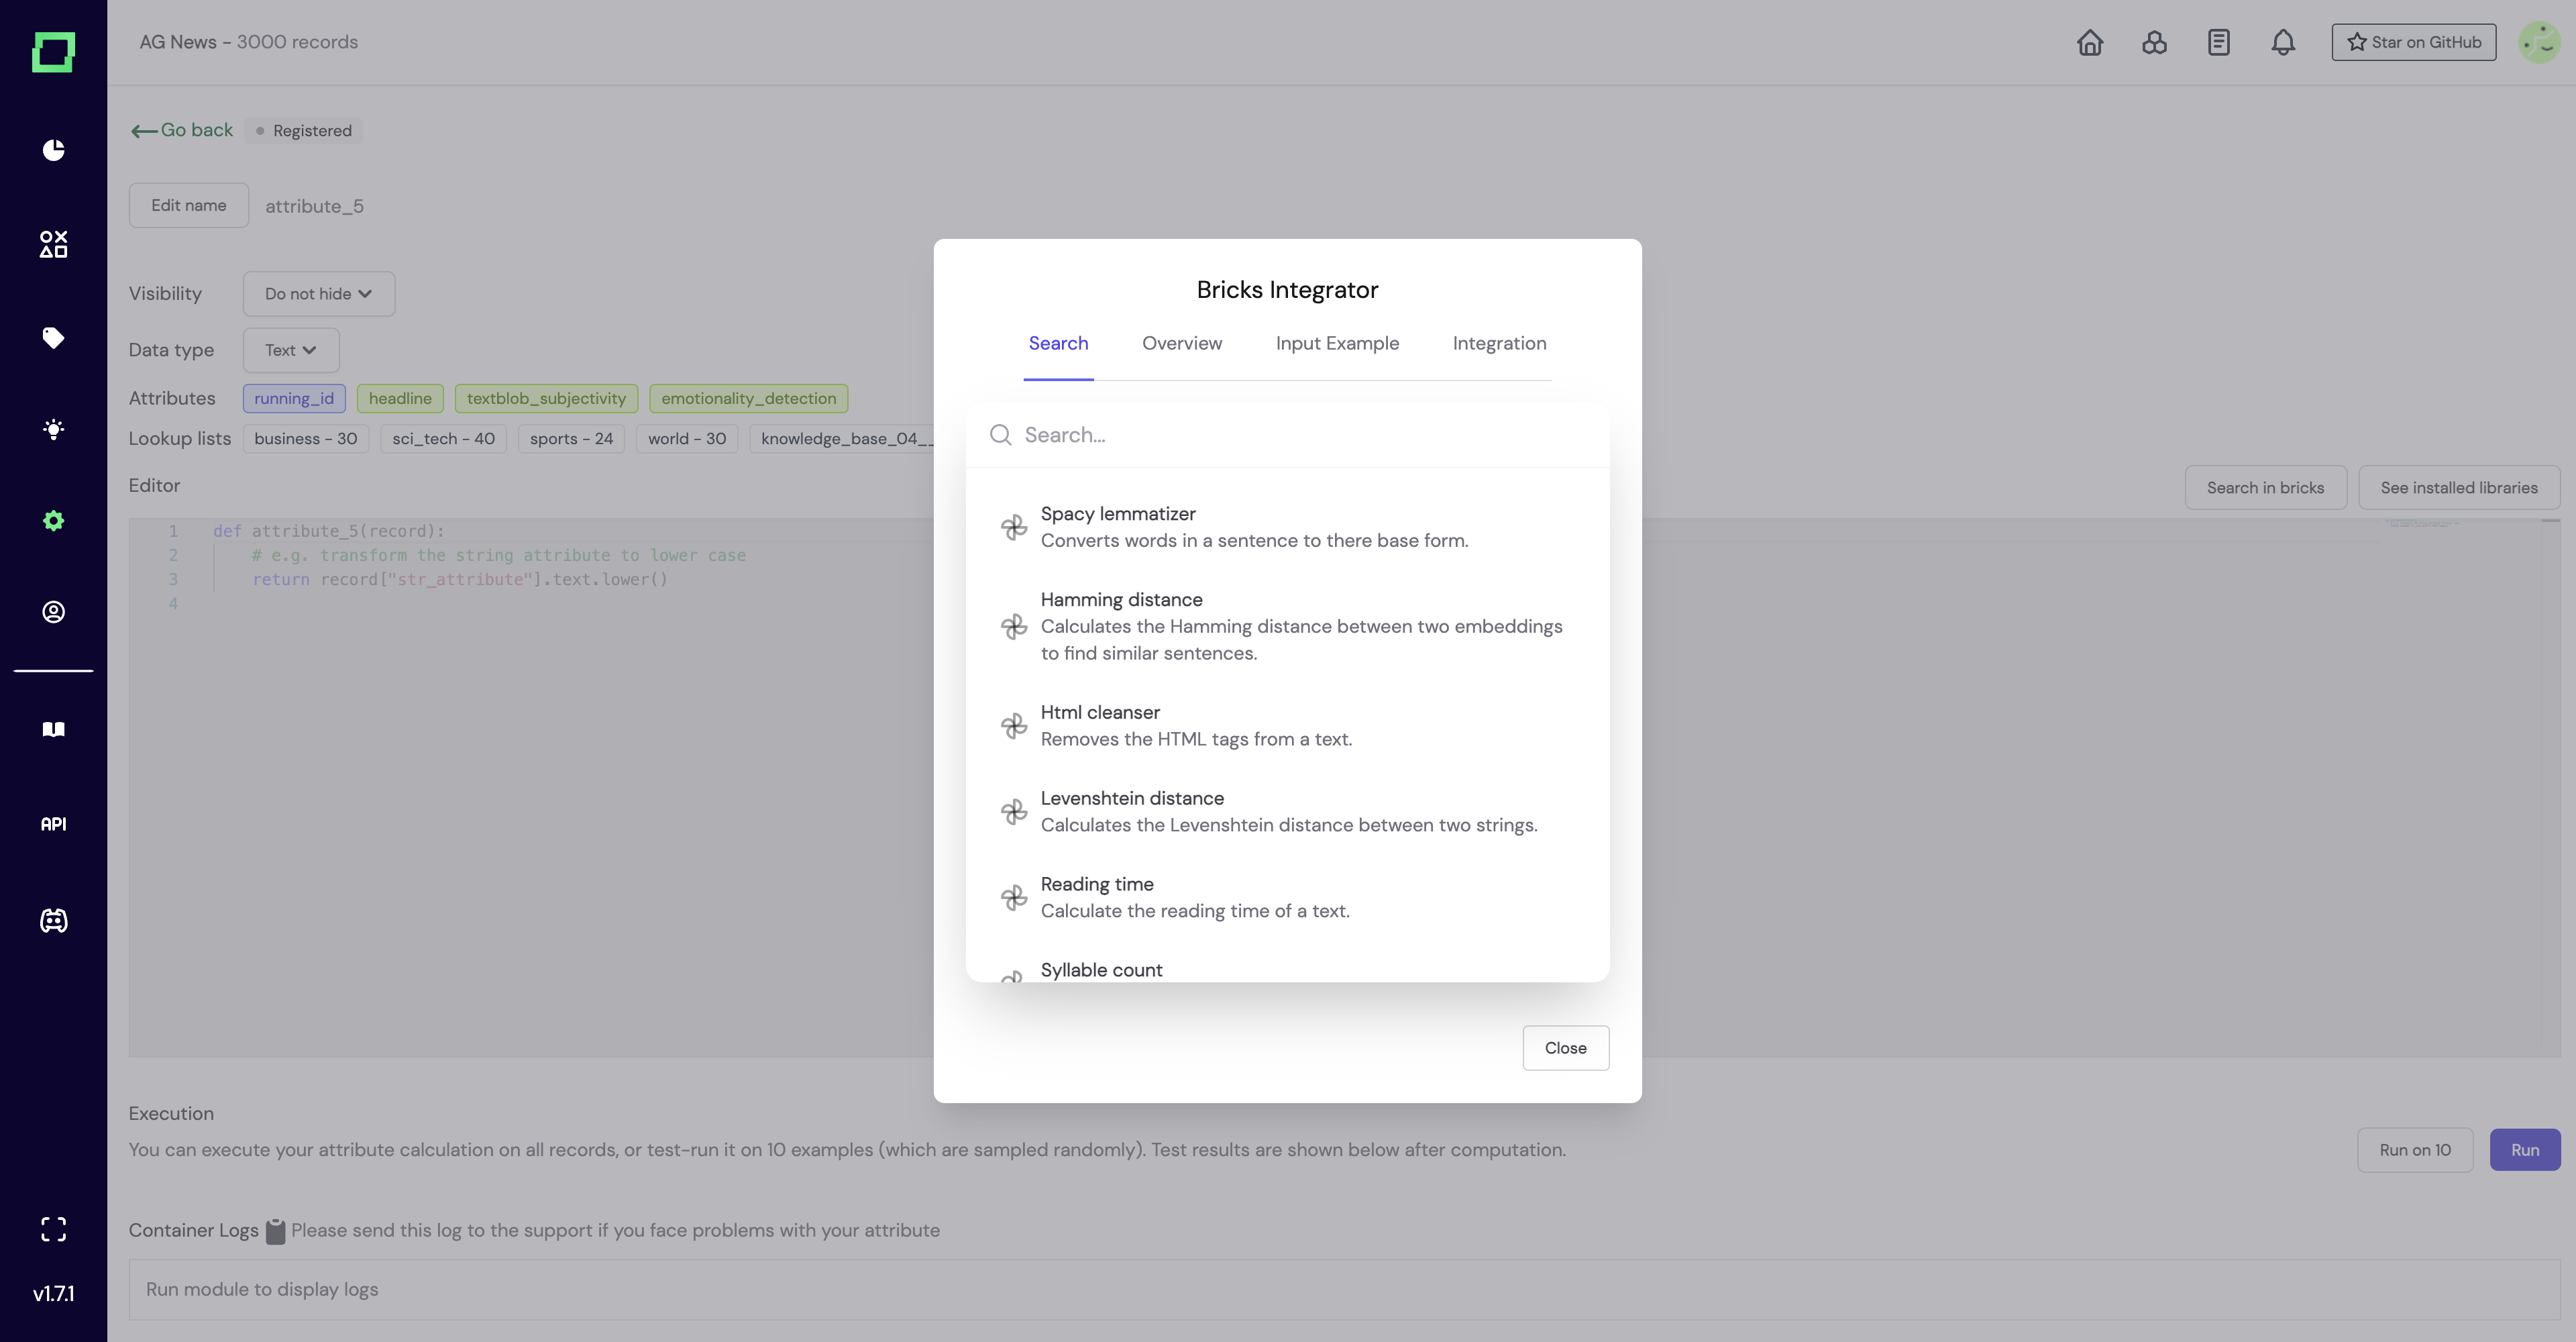
As you can see, there are two options: Search in bricks and Start from scratch . The first option is the gateway to the bricks integration feature which opens a prompt where you can select any of the available bricks for your project, as shown below.
Once you have selected the module to import, you can go through the overview of the module which contains information and a link that redirects you to that module on bricks. If you want to know what a specific brick does, or need an example, you can navigate to Input example which has a default input that is also imported from bricks, and you can modify it to perform test runs.
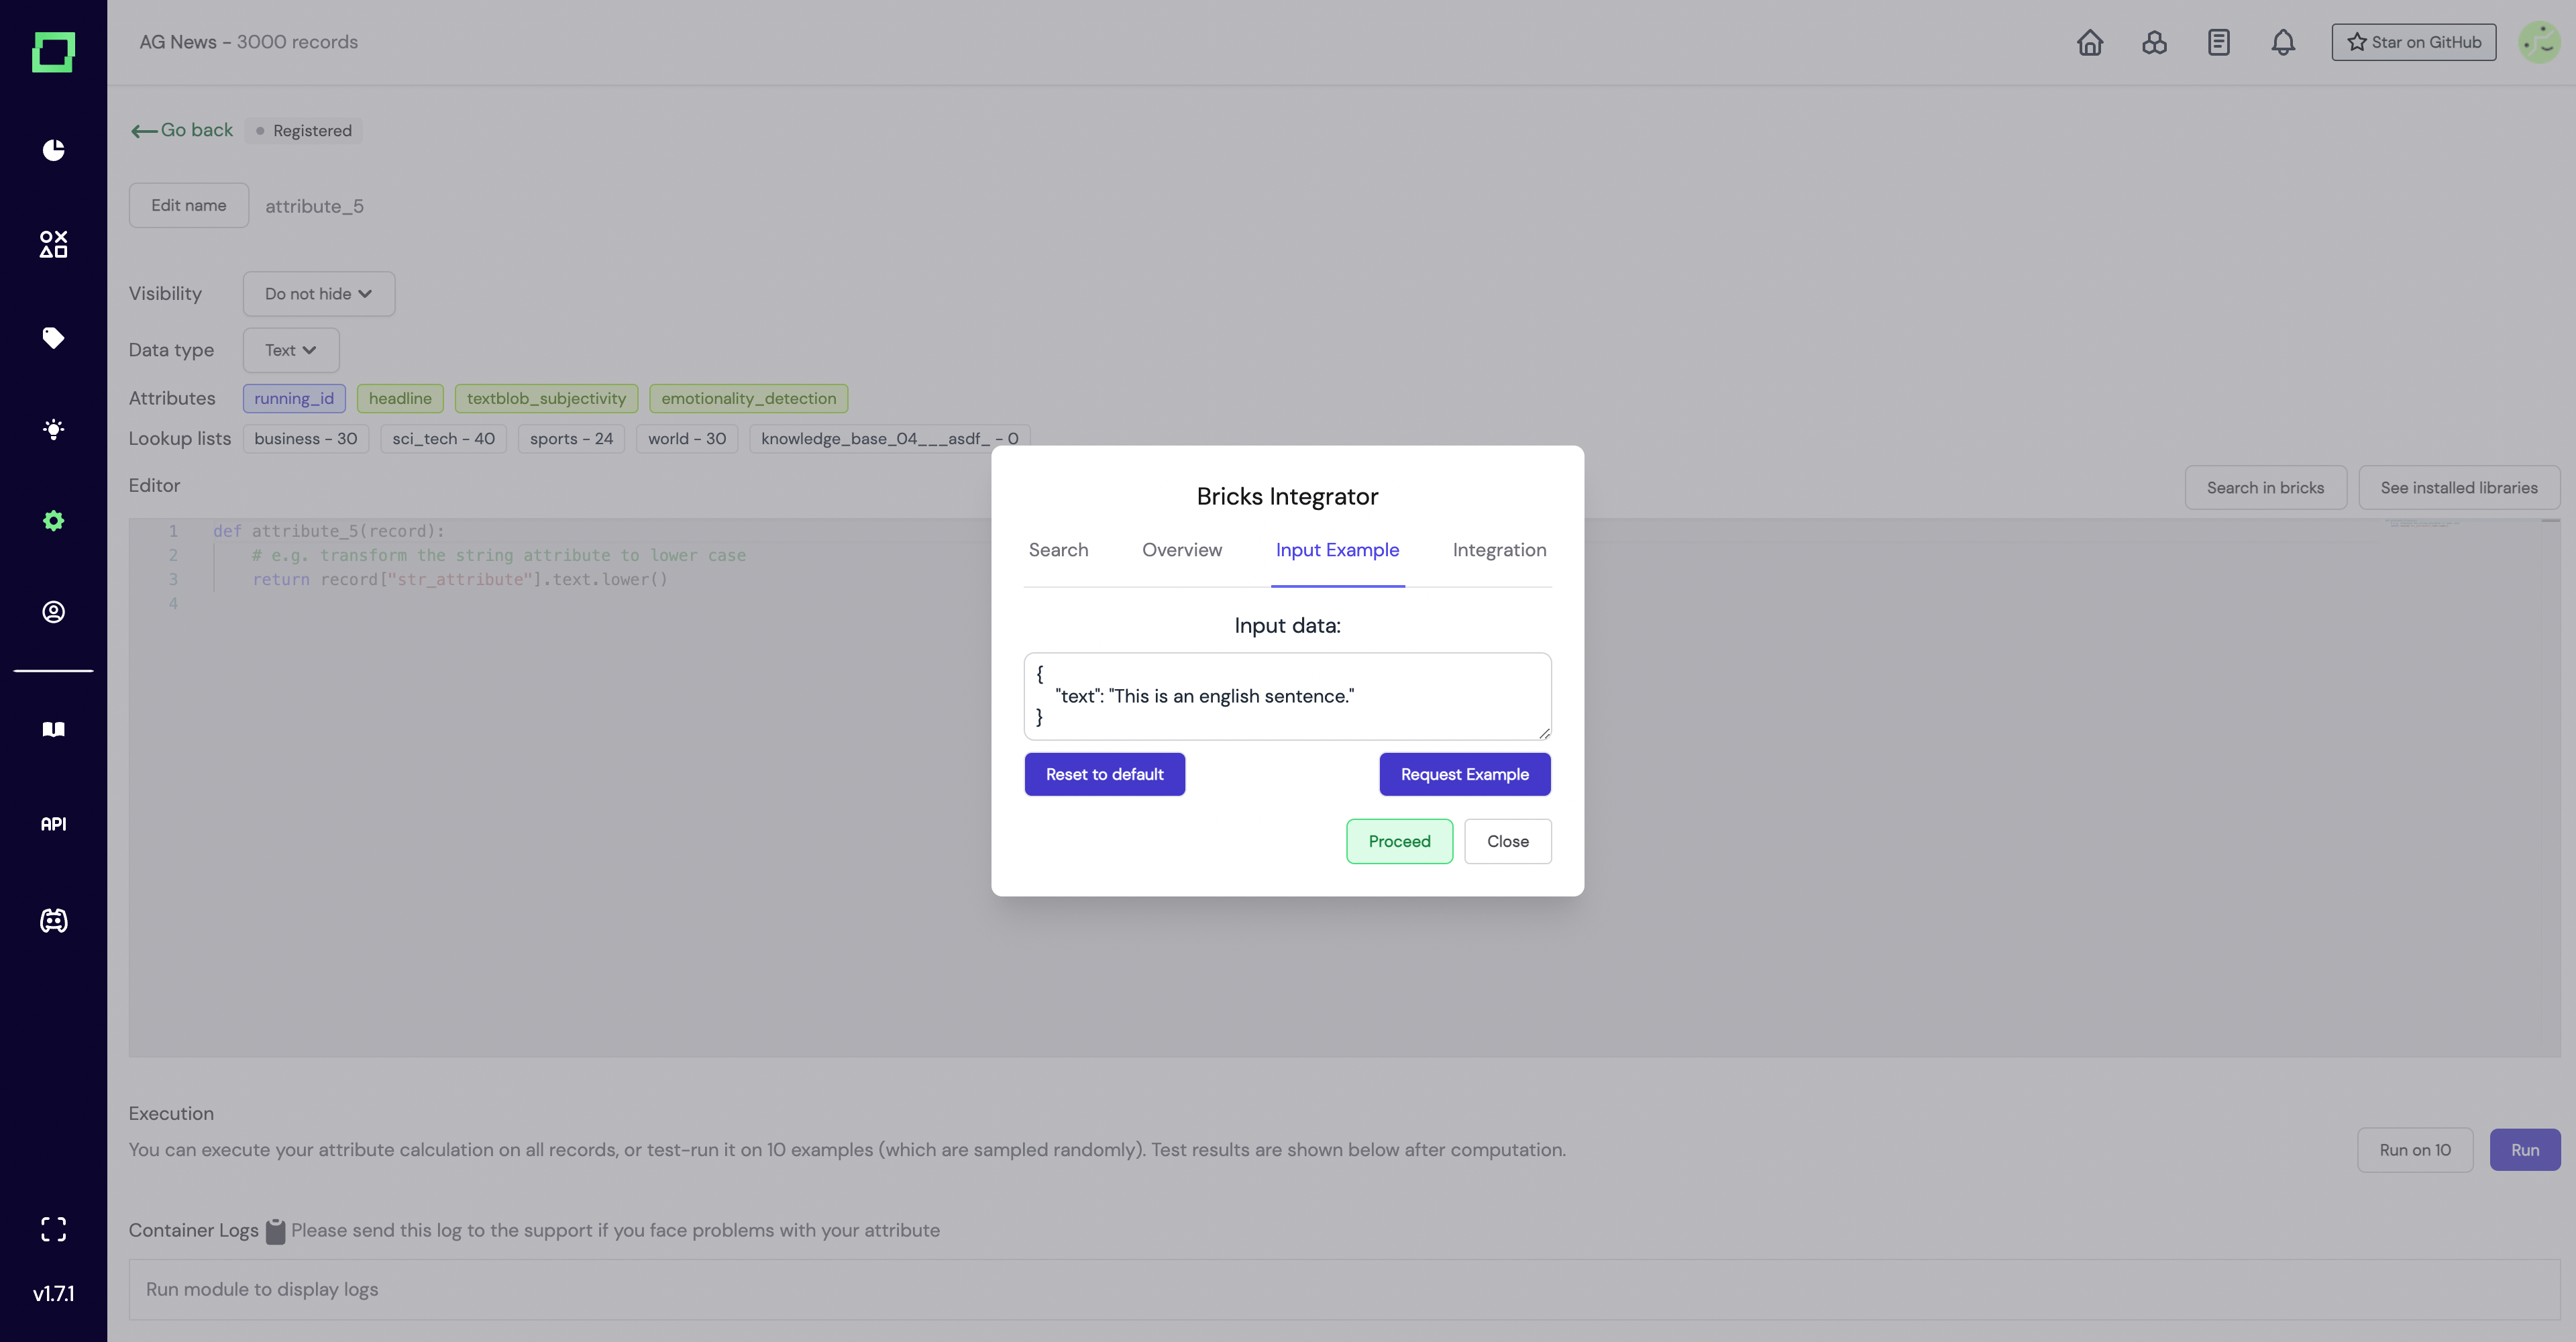
Clicking the Request Example button generates the output that you expect to see for that default/user-defined input. Likewise, the Reset to default resets the prompt to its initial state.
The last part is the Integration feature which consists of fields that take user-defined values.
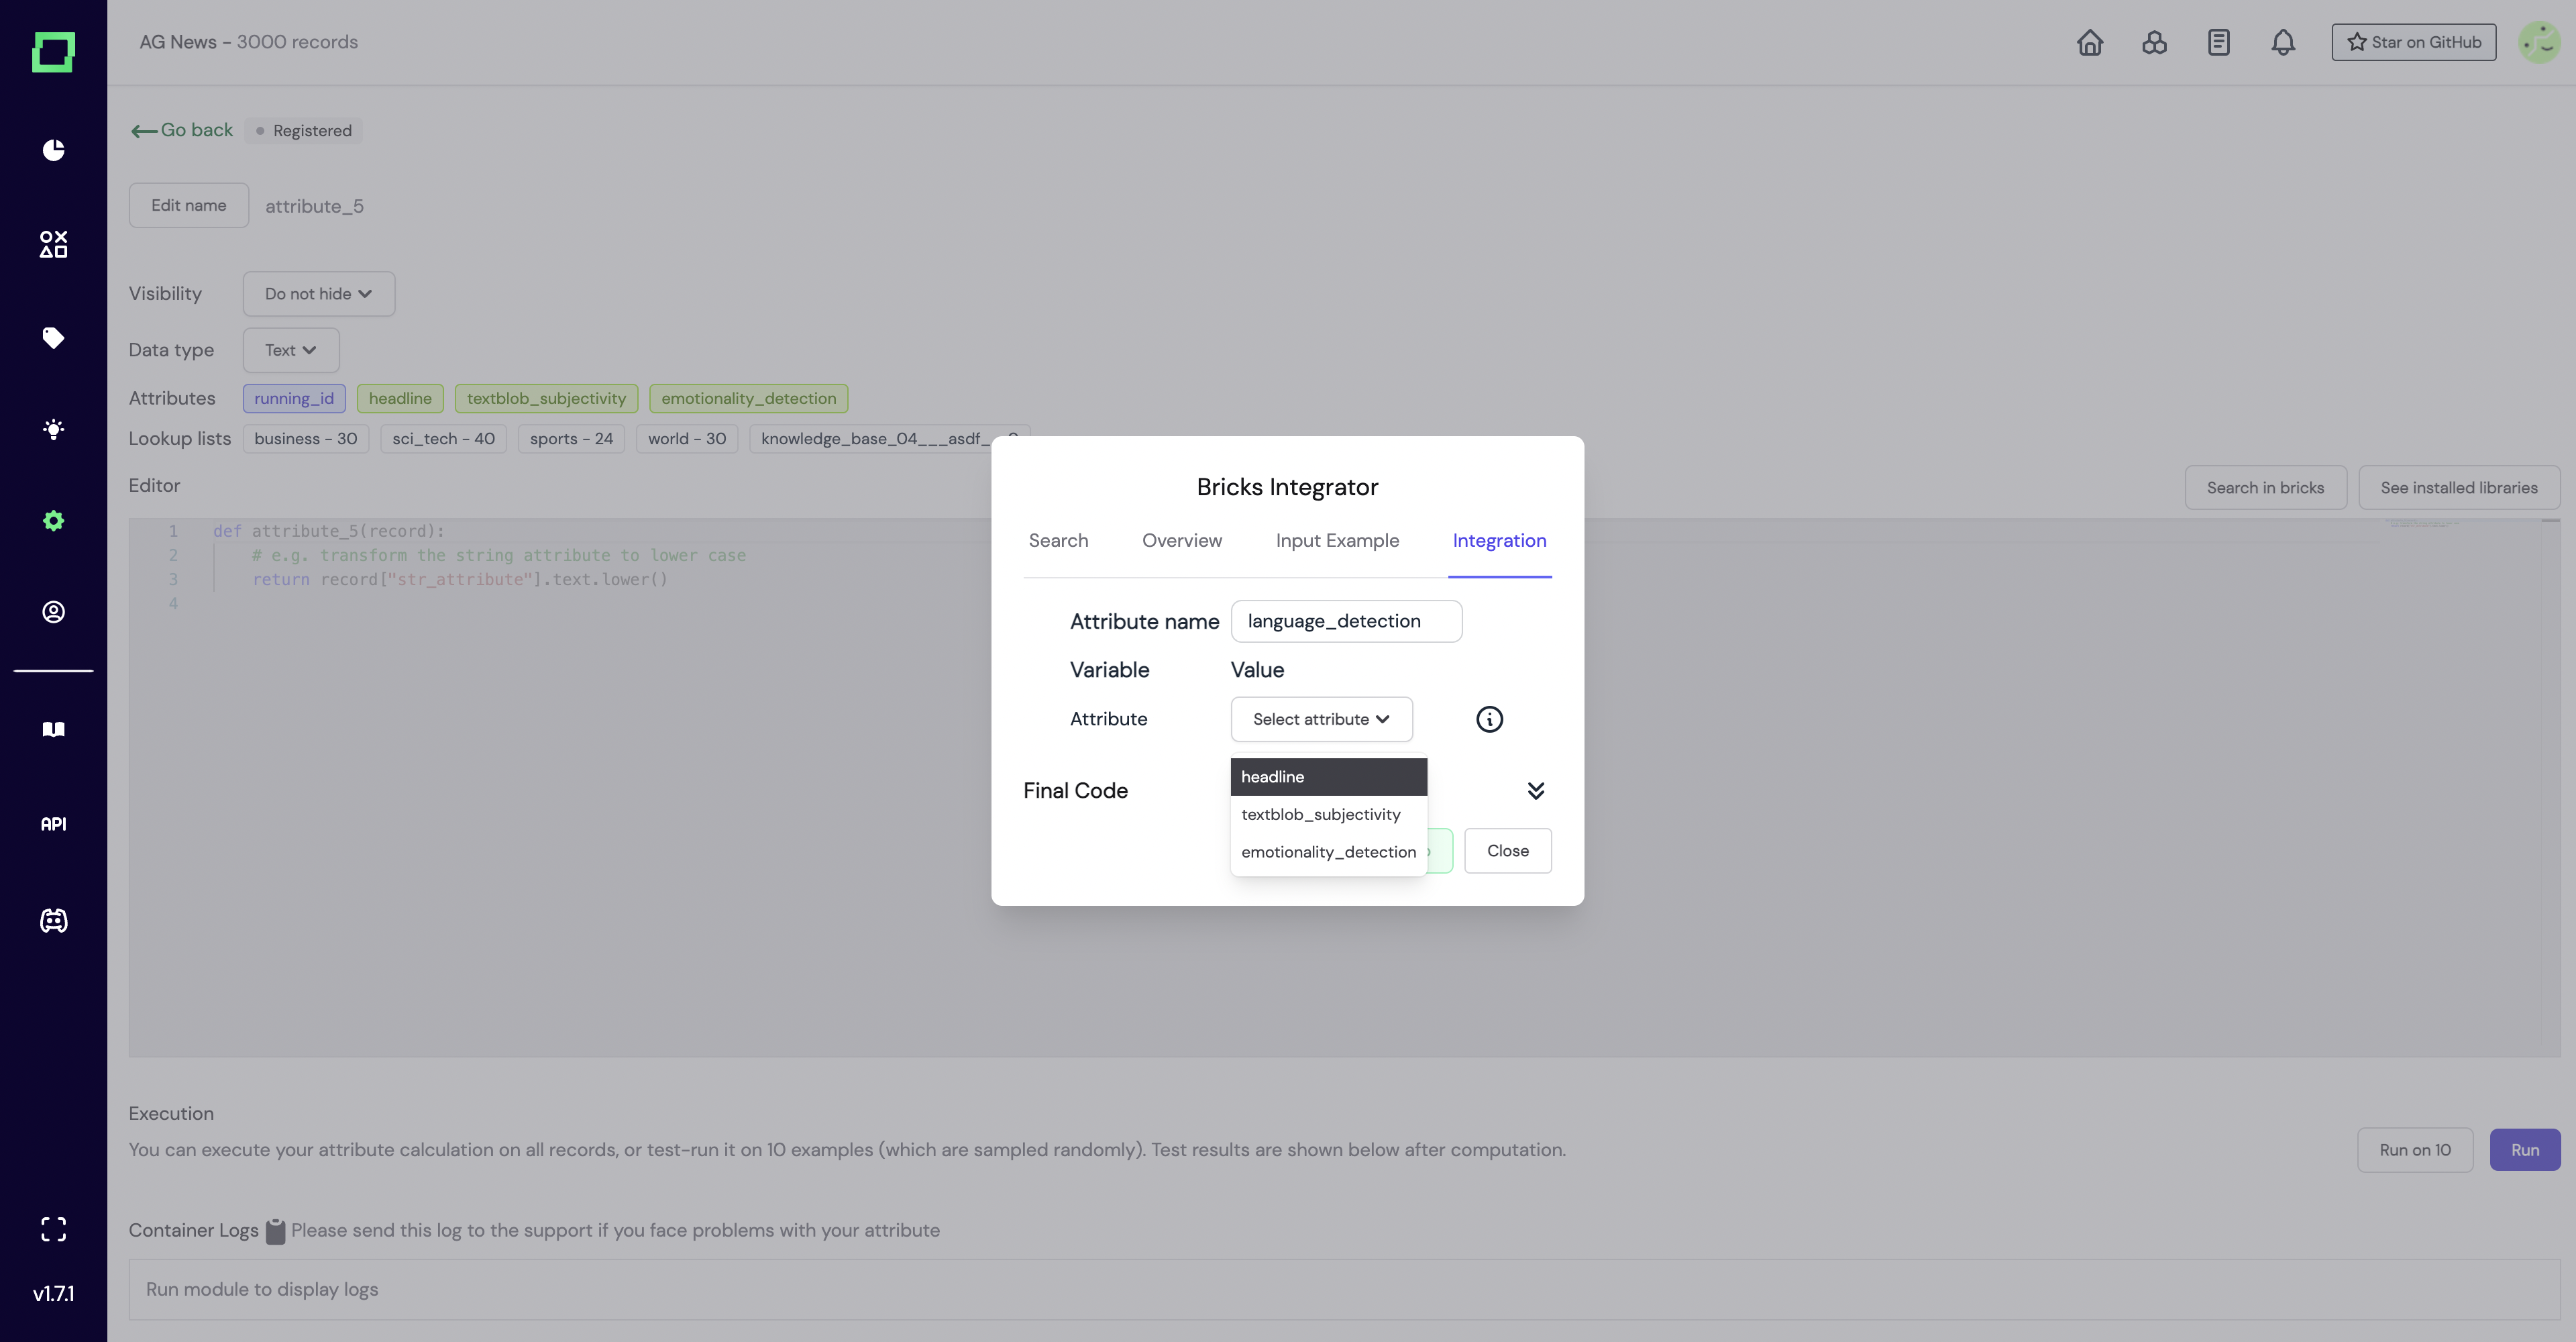
Once you have the variables set, you can look through the final code and changes.
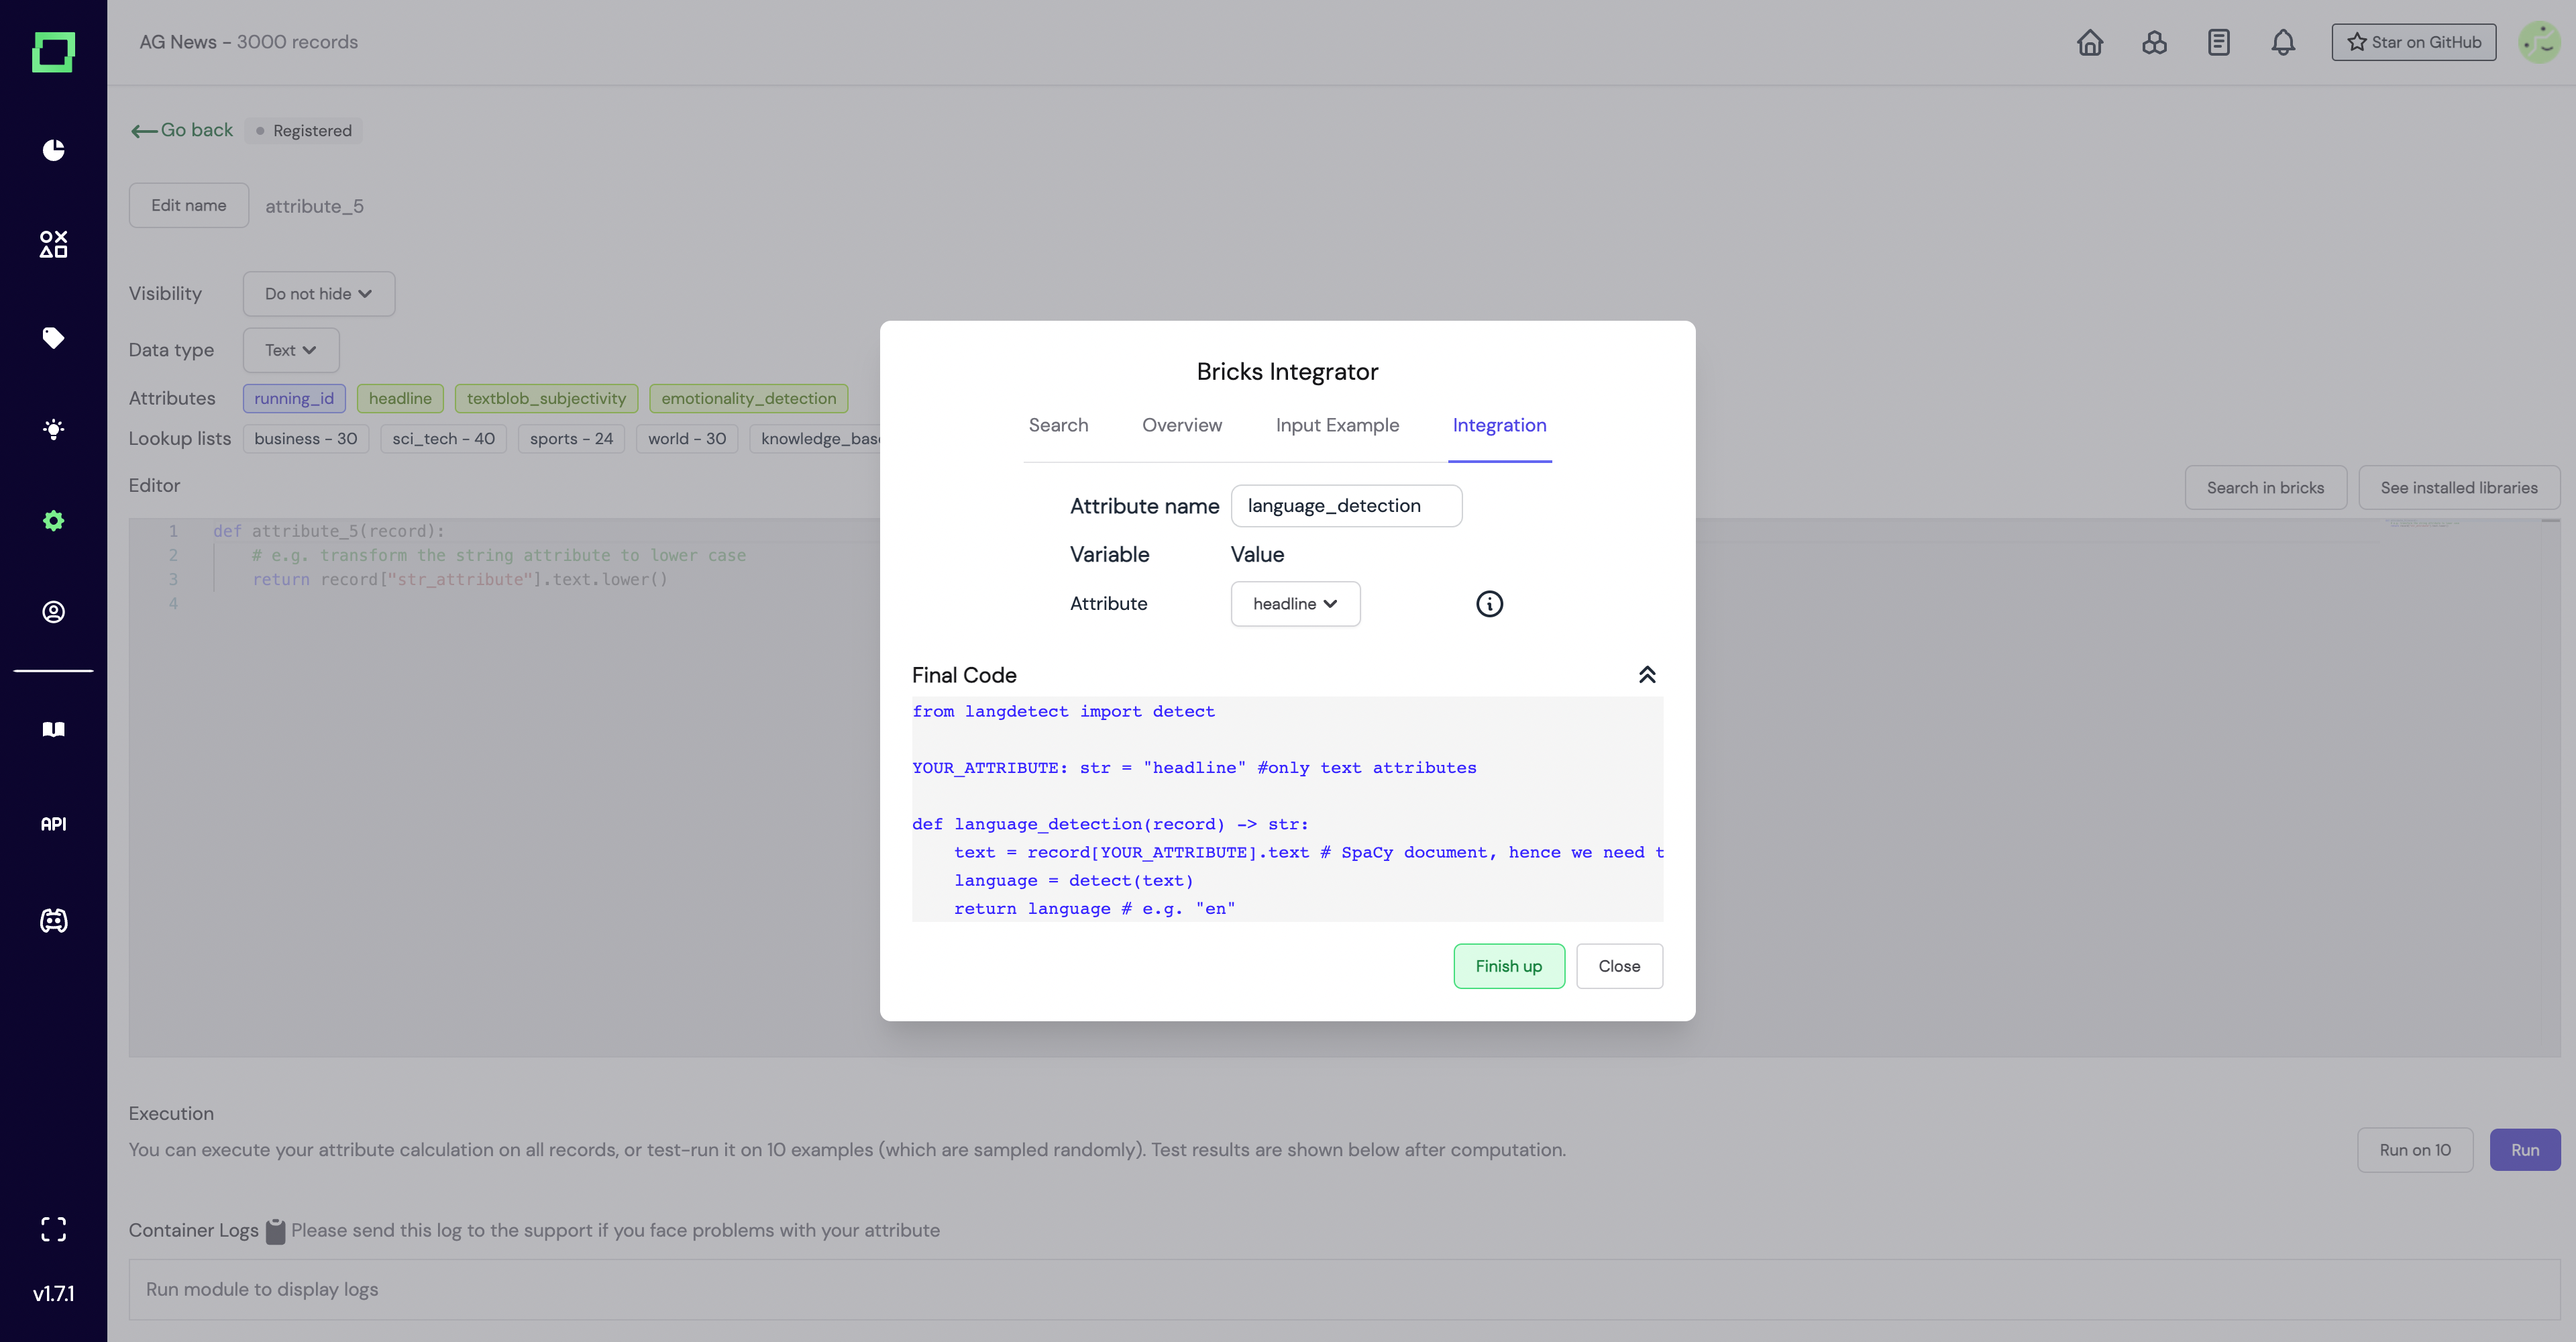
Lastly, you can click on Finish up and the code from bricks will be imported to the editor on the attribute page, as shown here:
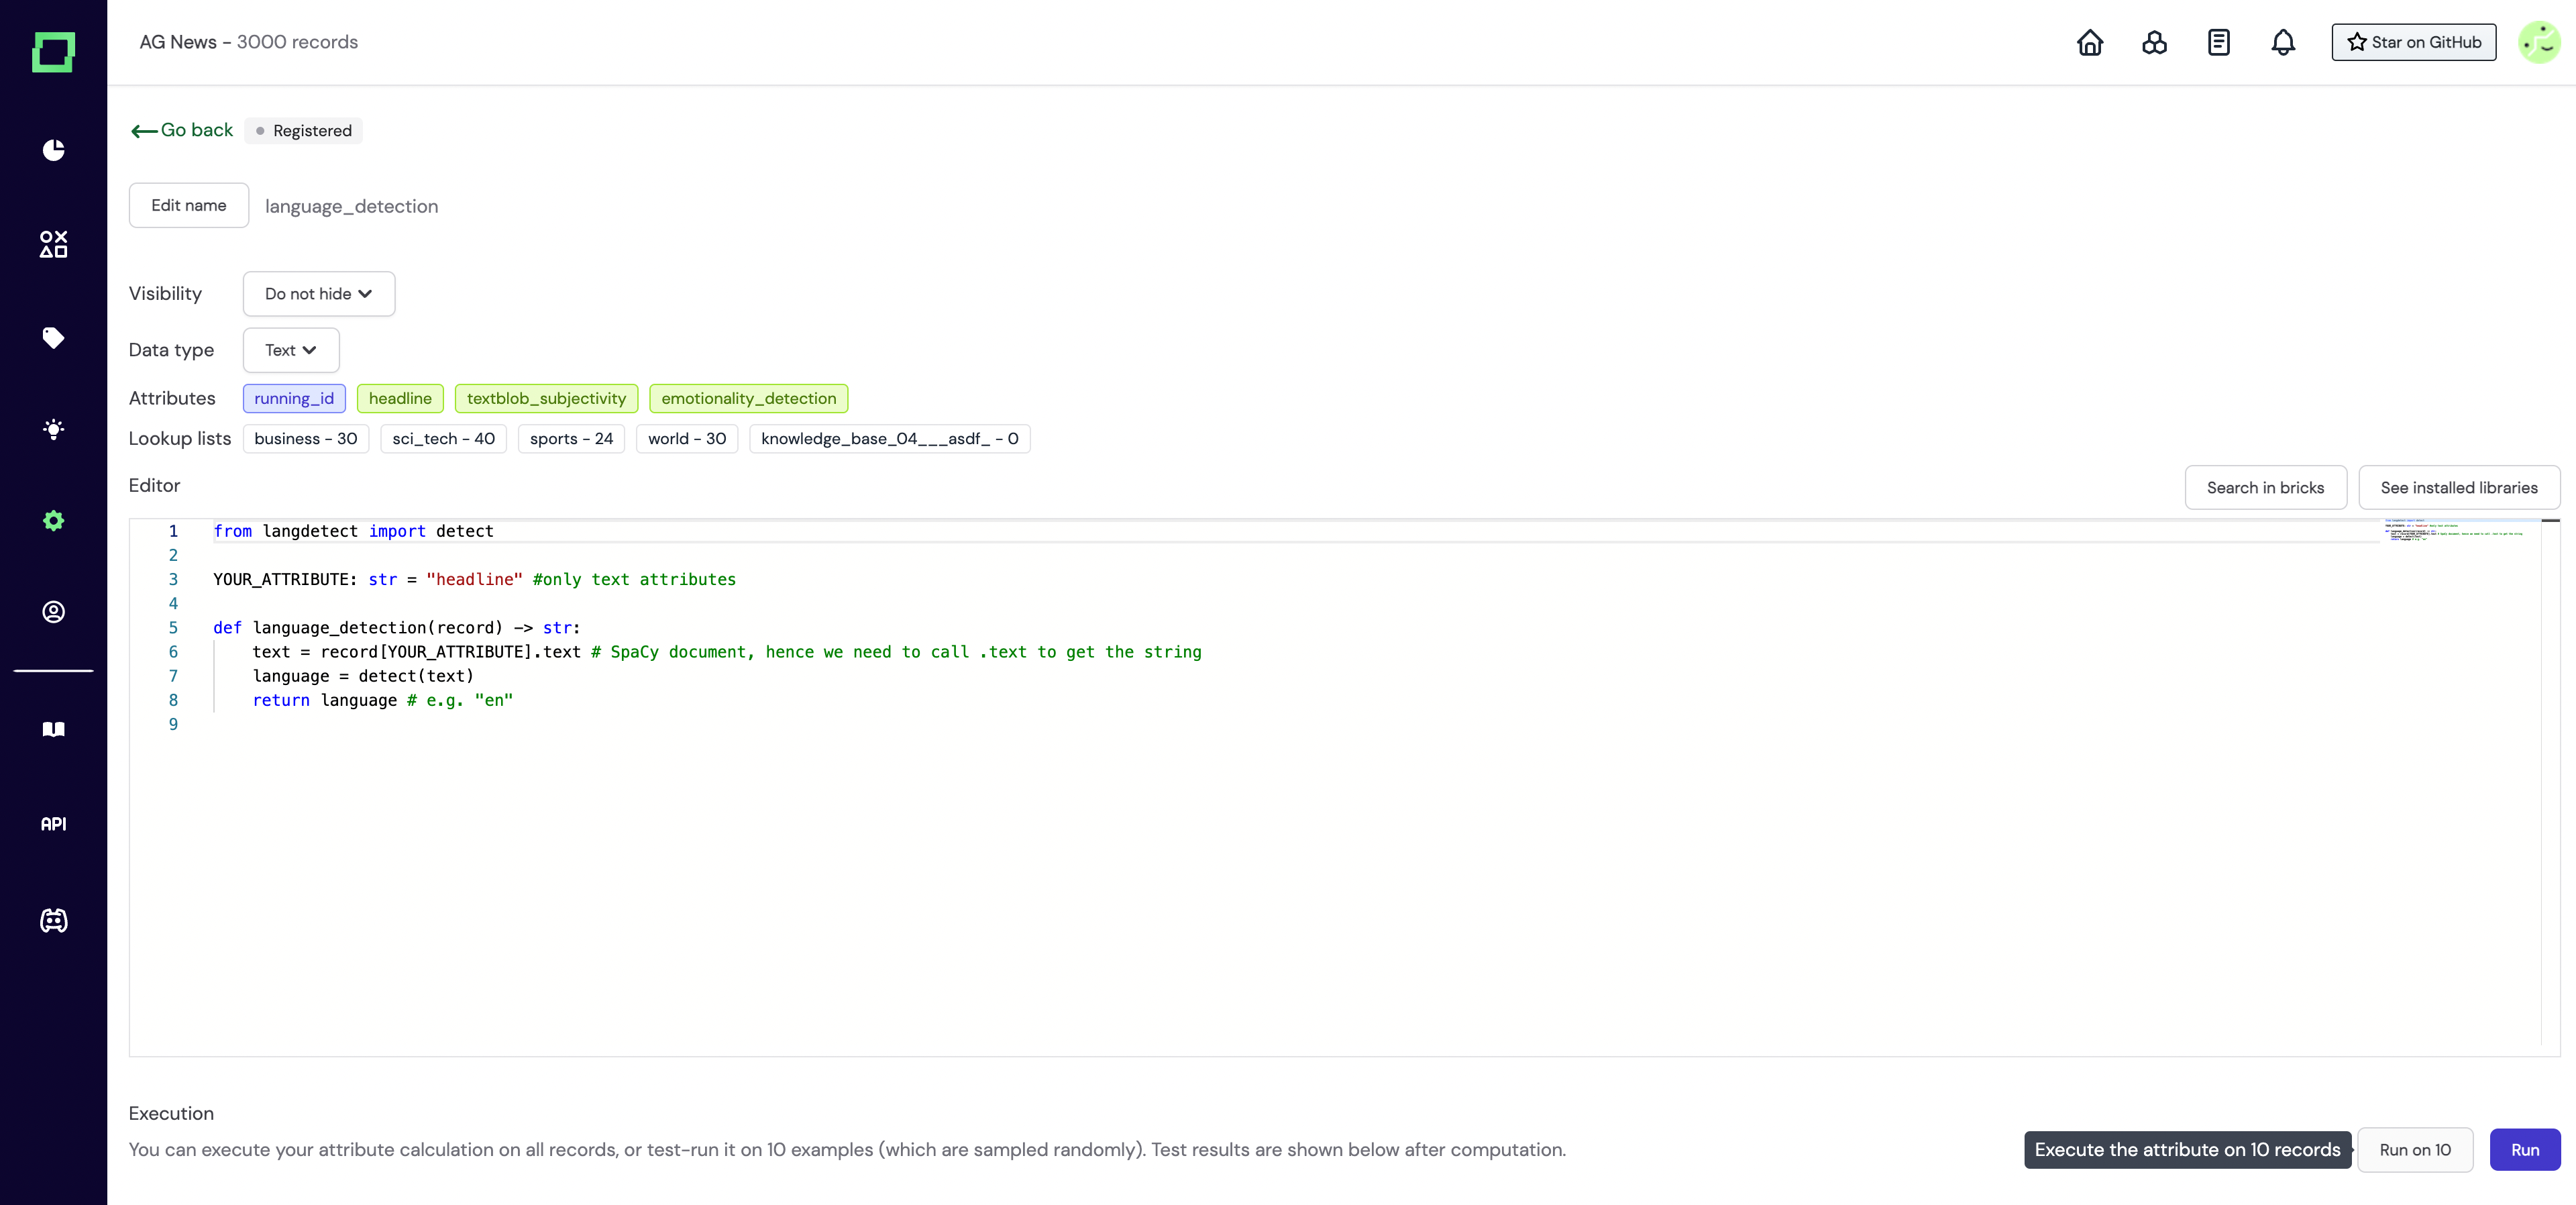
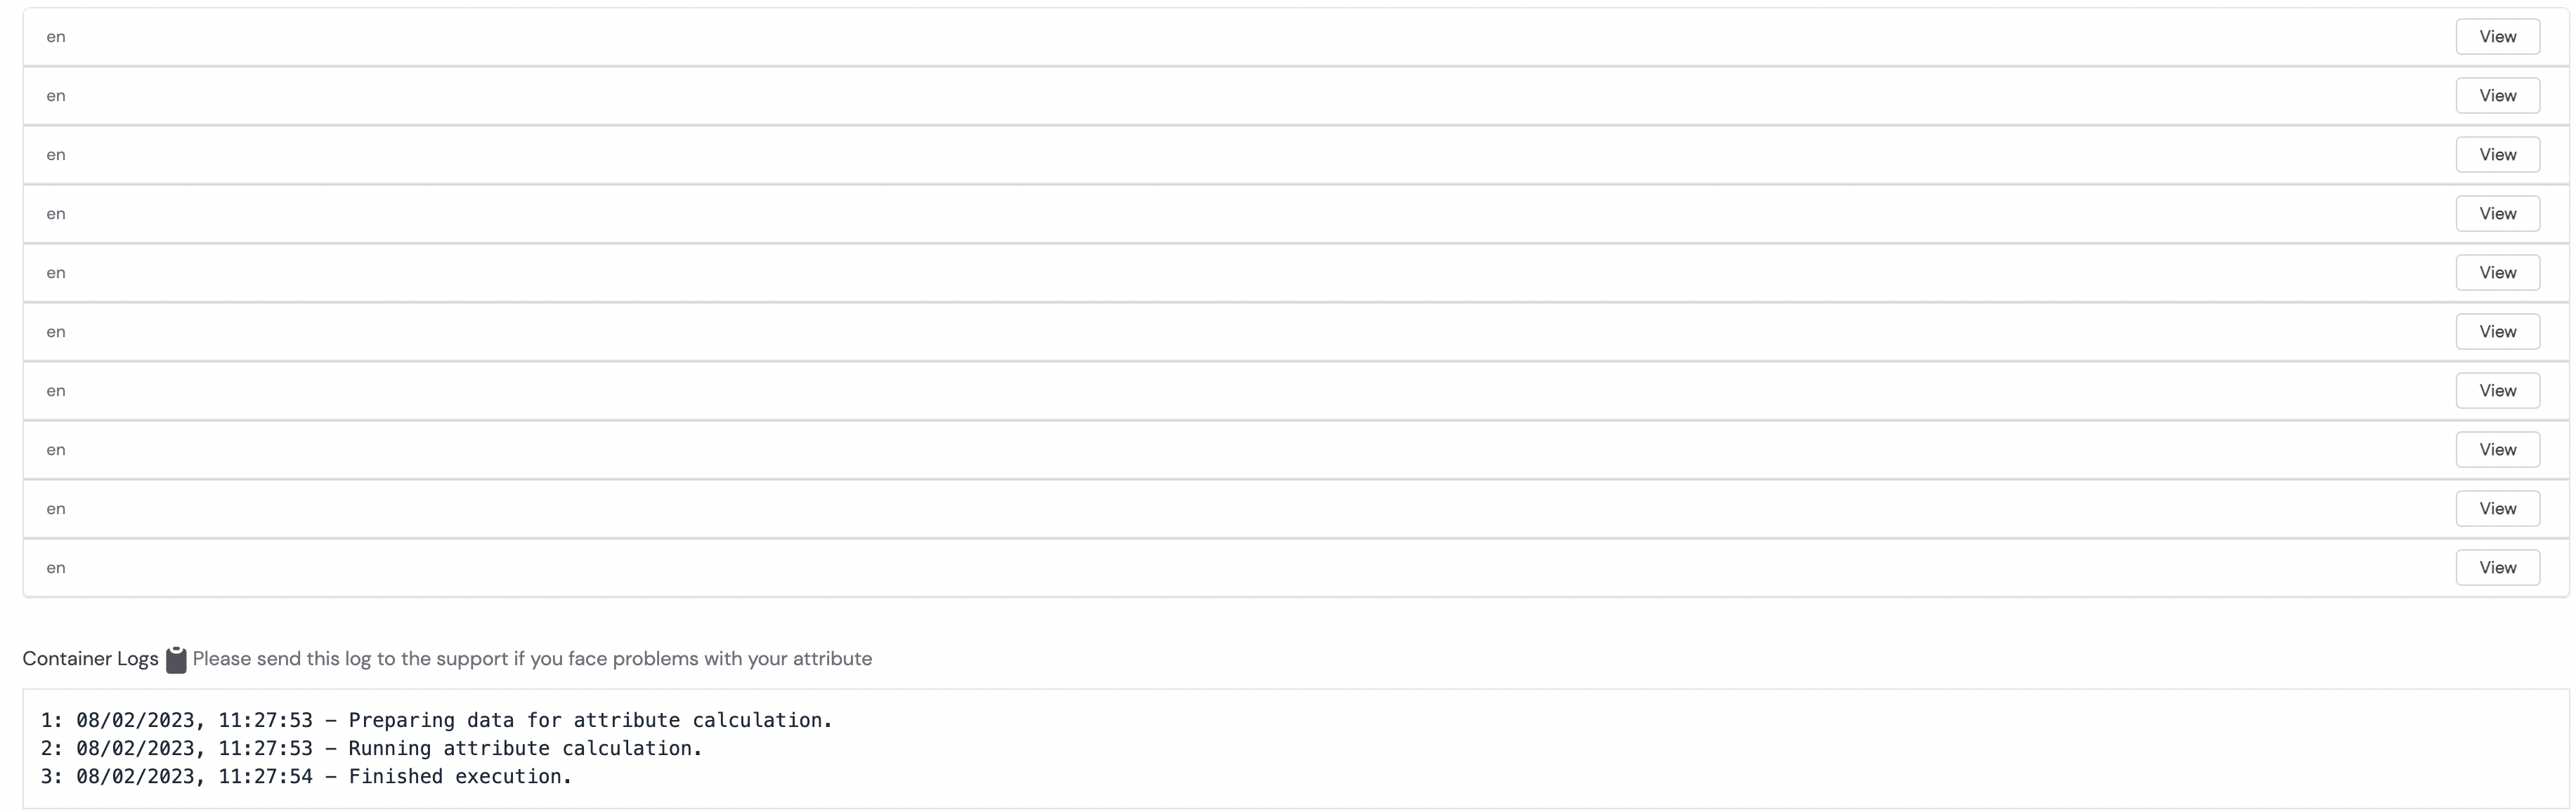
And you are set! To test it out, you can run the code on 10 samples by clicking the button below the code editor and the output shall be generated in no time!
Bricks integration makes it more convenient for you to simply access the module without any hassles of finding the module specifically on the bricks app and worrying if the module is compatible with your current refinery version or not. Apart from that, the above example was for attribute calculation, for which only classifiers or generators are to be used. In a similar fashion, you can use the bricks integration while creating a new heuristic - be it a labeling function (classifier/extractor) or an active learner.