Data management
The data browser is the heart of data management in refinery. With it, you can create labeling sessions, filter and inspect your data, find similar records, and much more. Let's dive right in!
Filtering
One of the core features of the data browser is its extensive filtering capabilities. The following section will explain what the different types of filters are, how they work, and how they can assist you in your labeling and data management tasks.
Attribute filters
Whether you want to search for textual patterns or just slice your data into chunks according to some attribute, the attribute filters yield a huge variety of combinations when you want to inspect and manage your data.
An attribute filter is a combination of an attribute, an operator, a value, a selection state, and operator-specific options.
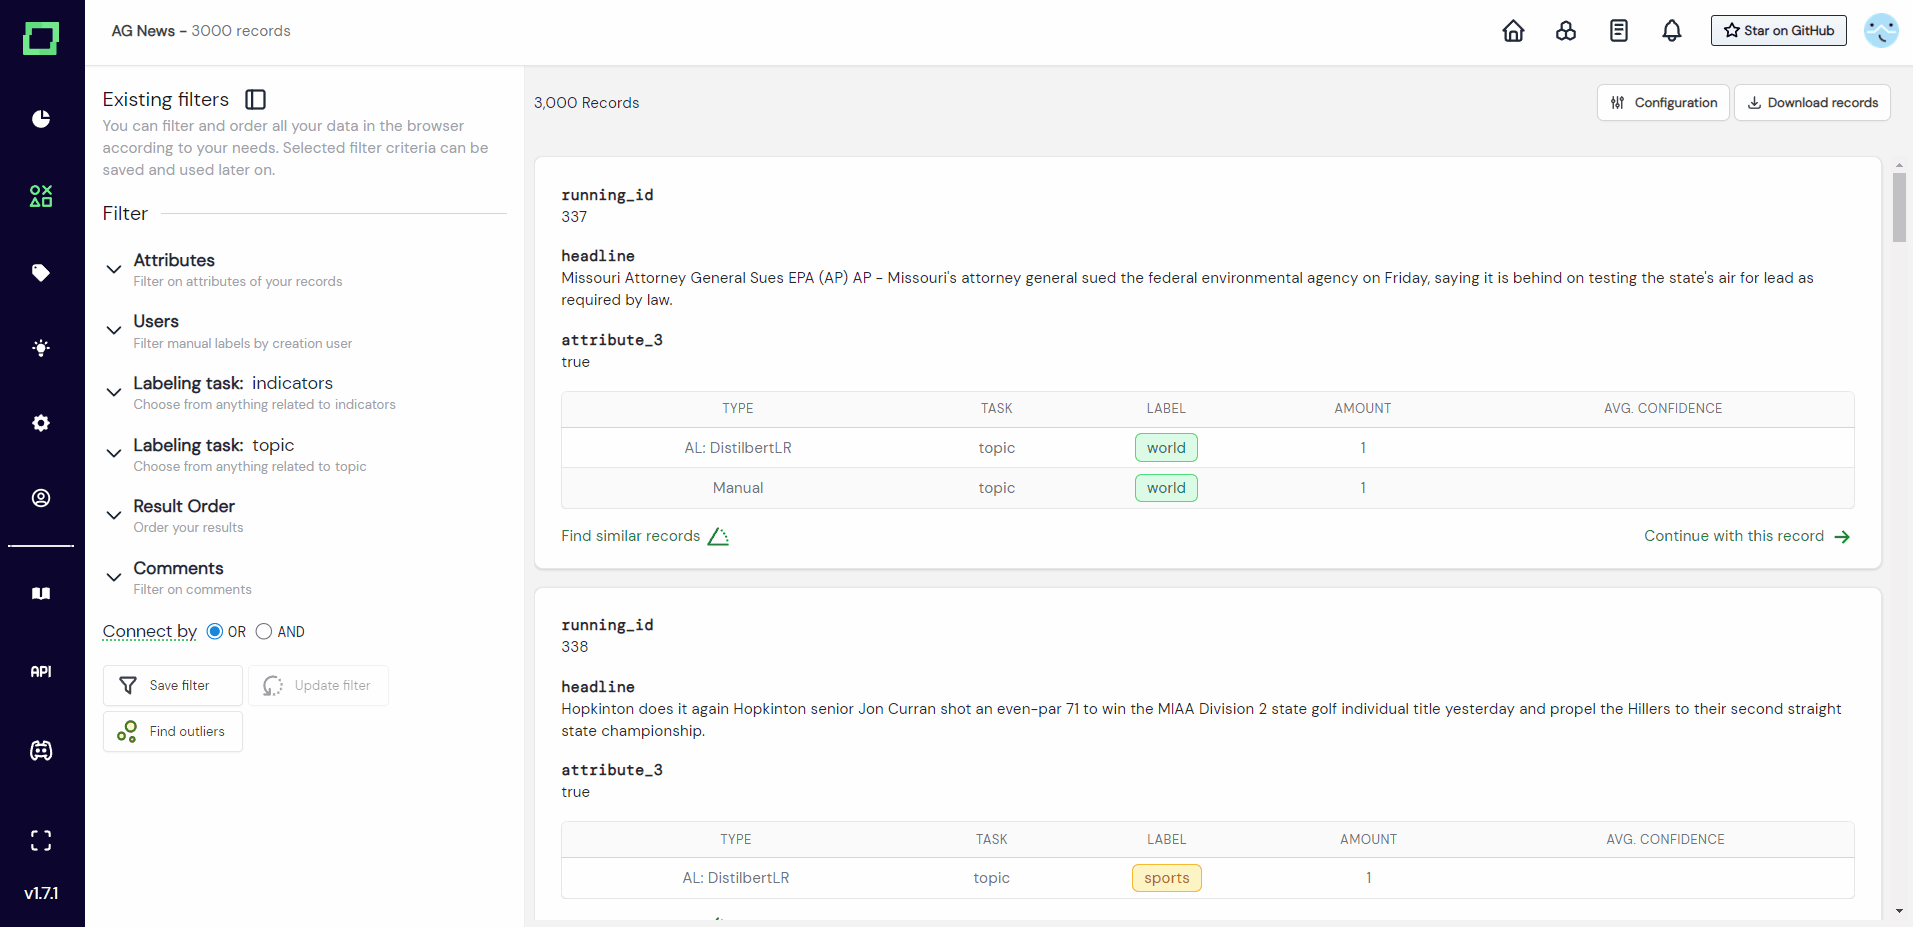
The attribute selection is a dropdown menu that displays all the available attributes of your data that are not actively hidden (see attribute visibility). This selection will determine the attribute to which the filter is applied, which is the headline attribute in Fig. 1.
The operator selection is also a dropdown, but with pre-configured selection options. We currently support the following options:
EQUAL: Checks for direct equality of an attribute and the provided value. Is case sensitive.BEGINS WITH: Checks if the attribute starts with the provided value.ENDS WITH: Checks if the attribute ends with the provided value.CONTAINS: Checks if the provided value occurs anywhere in the attribute at least once.IN: Similar to EQUAL, but you can provide a list of possible values instead of just one. Use the separator specified in the configuration (default: ",").IN WC: Similar to IN, but you can use wildcard syntax in your value. The "*" and "%" match all characters and arbitrarily many of them, while the "_" and "?" match just a single character.GREATER: Checks if the attribute is greater than the provided value. For text and category attributes this is done character by character, which you might know from sorting the names in a file system. For example "a9" > "a10", because "a" = "a" and "9" > "1". |GREATER EQUAL: Similar to GREATER, but also includes attributes that are equal to the provided value.LESS: Checks if the attribute is smaller than the provided value. Text and category attributes are handled just like they are in GREATER.LESS EQUAL: Similar to LESS, but also includes attributes that are equal to the provided value.BETWEEN: Checks if the attribute is GREATER EQUAL than the first provided value and LESS EQUAL the second provided value.
The value of an attribute filter is the user input that you give, e.g. Falcons in Fig. 1.
The selection state of an attribute filter is the state of the checkbox on the very left. There are currently three different states: INCLUDE (blue checkbox), EXCLUDE (red checkbox), and IGNORE (empty checkbox). INCLUDE and EXCLUDE do not refer to the inclusion or exclusion of the filter itself, but rather if we want to include or exclude the records that fulfill our filter condition. If the selection state is set to IGNORE, the filter will not be applied. The selected state in Fig. 1 is INCLUDE.
The last part of an attribute filter are operator-specific options, which currently only is the option case sensitivity. We call them operator-specific because not all operators support them. Case sensitivity is supported by BEGINS WITH, ENDS WITH, and CONTAINS.
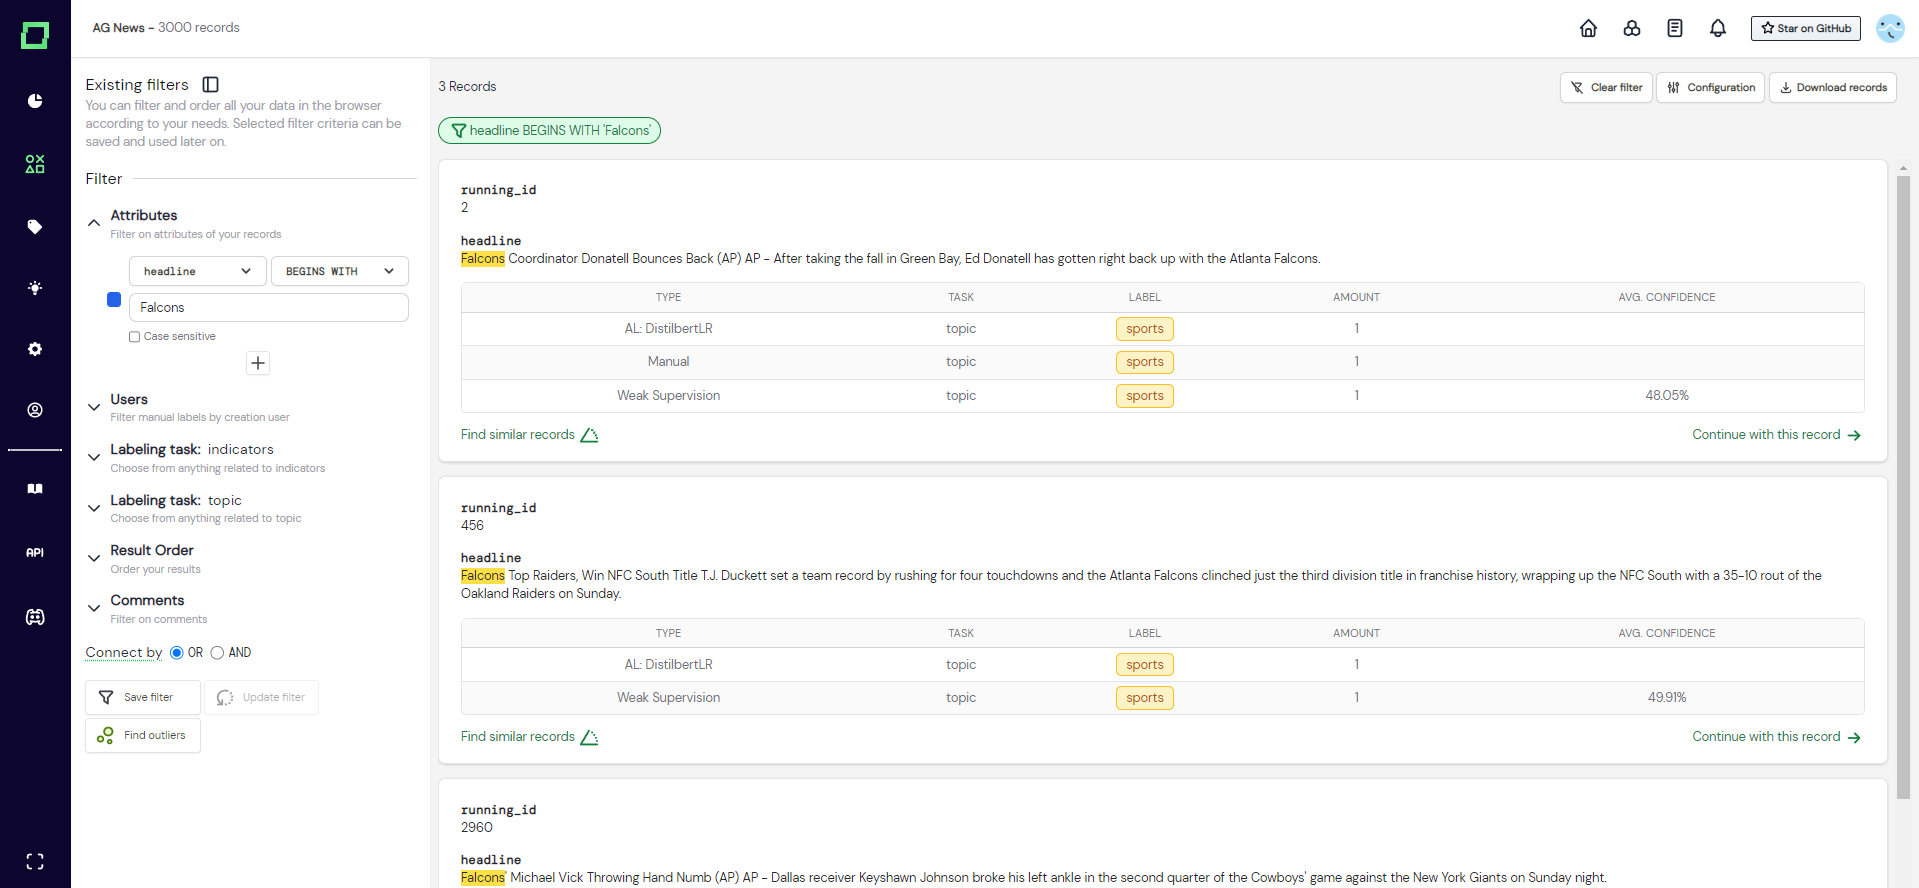
In Fig. 1 you can see an example of an attribute filter. Here, the attribute is headline, the operator is BEGINS WITH, the value is Falcons, the selection state is INCLUDE (blue checkbox) and the operator-specific option "Case sensitive" is not selected.
Want to apply multiple filters on different attributes at the same time? Just click on the "+"-icon below your attribute filter to add a new attribute filter. Multiple filters are combined with AND, so you are filtering for the intersection of records, where all the attribute filters evaluate to true.
Labeling task filters
Each labeling task that you create will automatically get its own collapse filter menu in the data browser. Every labeling task filter comes with the following options: manually labeled, weakly supervised, model callback, and heuristics.
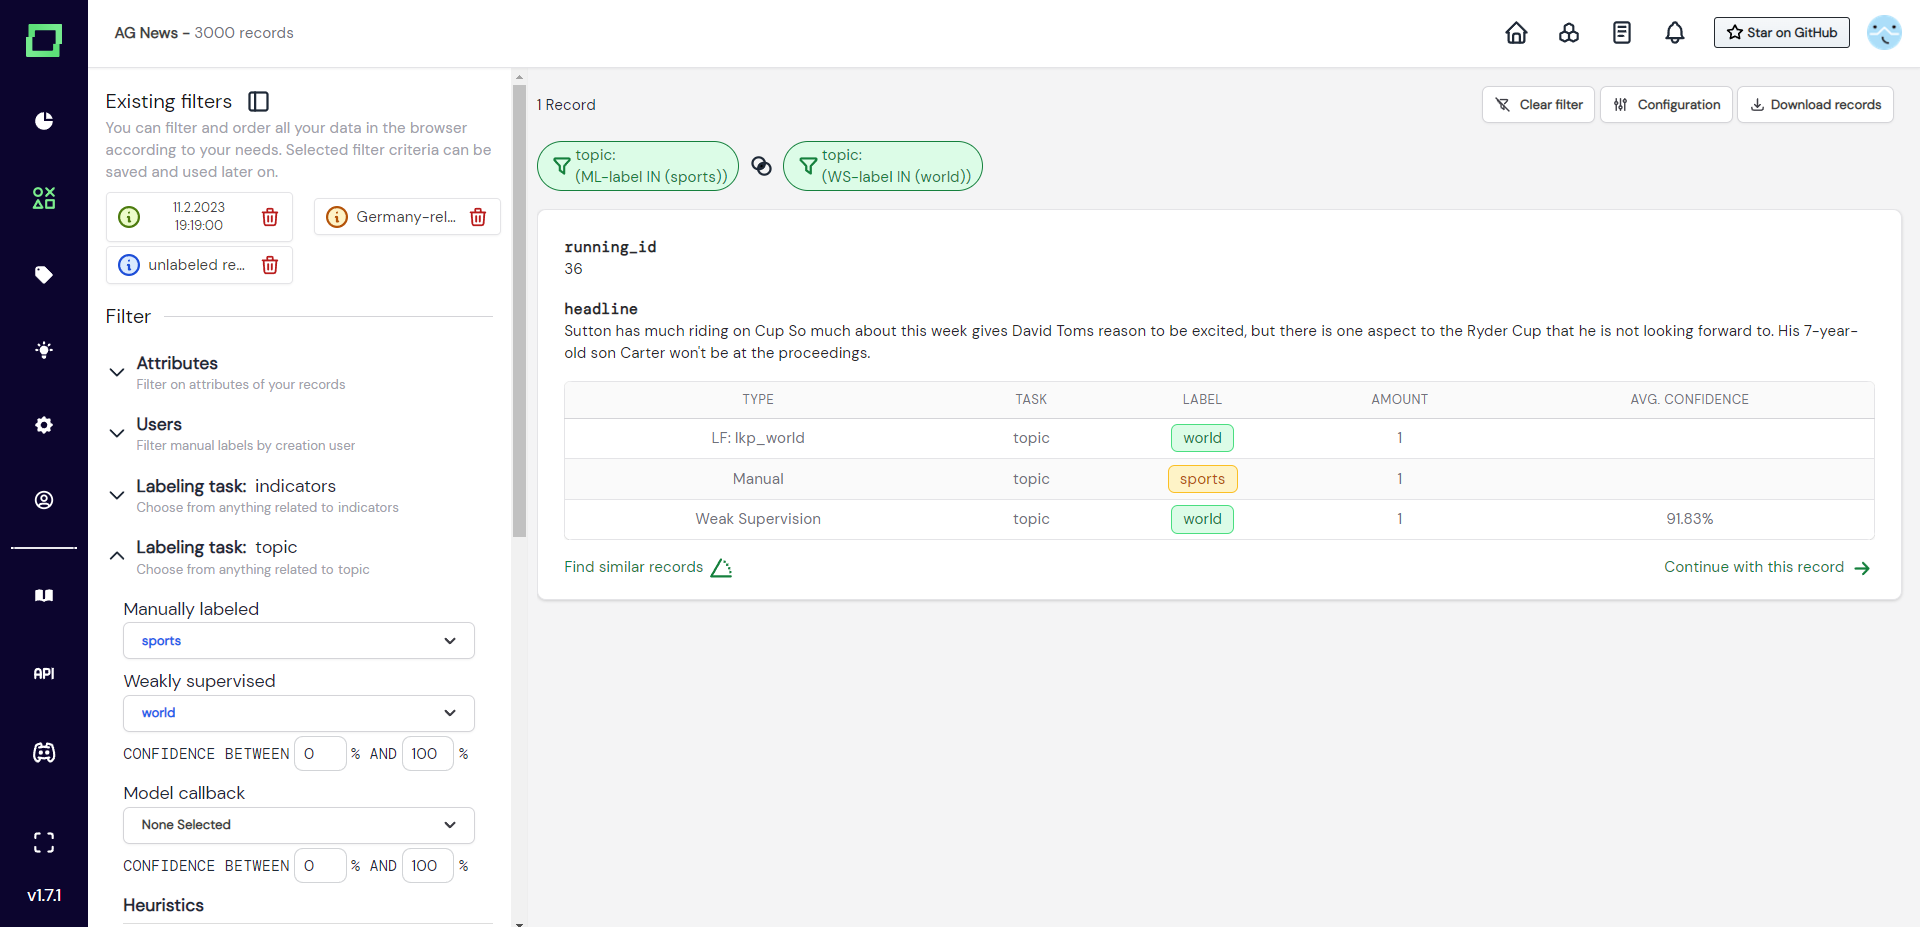
The manually labeled multi-select dropdown lets you filter your data based on the manual label that was given for that specific labeling task. The multi-select dropdown displays all available labels (even if they weren't assigned to any record) and one additional option "has no label". The label selection also has three states: INCLUDE (blue checkbox), EXCLUDE (red checkbox), and IGNORE (empty checkbox). Per default, everything is set to IGNORE, which is why nothing is filtered. The "has no label" option is a great way of filtering your data for unlabeled records and only has the states INCLUDE and IGNORE.
The weakly supervised multi-select dropdown lets you filter your data based on the weak supervision label that was given for that specific labeling task. It functions just like the manually labeled one with the addition of a confidence interval. You can use the confidence interval filtering without actually filtering for any specific weak supervision label.
The model callback multi-select dropdown lets you filter your data based on the model callback labels that you added to your project. They work similarly to the weakly supervised filter option.
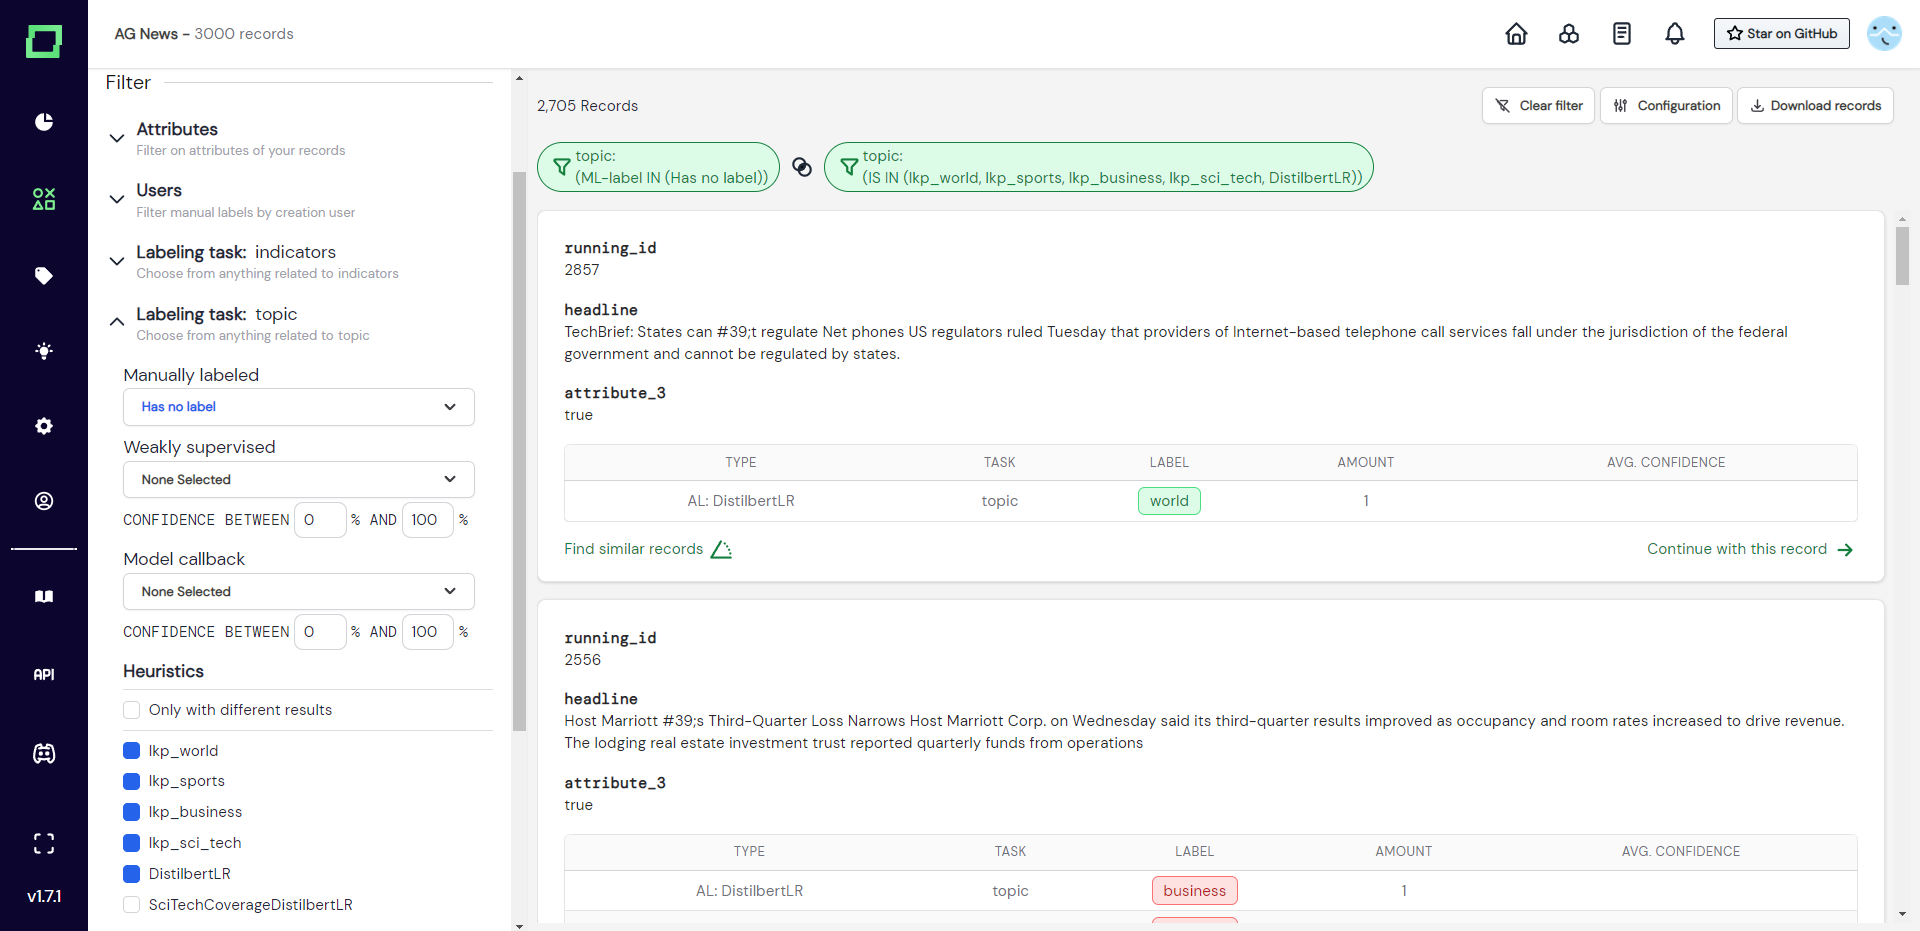
Heuristics filtering option works a little differently from the others because it cannot directly filter for a label. Instead, you can select a set of heuristics and only show those records that the heuristics make a prediction on. This filter also has three states INCLUDE, EXCLUDE, and IGNORE. The filter will show all available heuristics, even if they were not executed yet. There is a special selection option called "only with different results", which will filter for the records where at least two heuristics disagree in their prediction.
Comment filter
The comment filter is very basic. It has one option, to filter for "records with comments". This also has three states INCLUDE, EXCLUDE and IGNORE, so you can filter for records that have comments, have no comments, or any of the two.
Combining filters
Filtering options can be combined arbitrarily. The combination operator of different filter settings is the logical AND, meaning that if you select multiple filters, you will receive the intersection of records that fulfill all the filtering criteria.
At the bottom of the filter options, you will find a radio selection that is prefaced with the words "connect by". This selection influences the combination operator only within one filter. That means the general operator will still be the AND (intersection), but atomic filter options can change their operator to be concatenated with OR (union). At this moment, the "connect by" selection changes the behavior of the following filter options: users, manually labeled, weakly supervised, model callback, and finally heuristics.
Filter combinations are not saved automatically. When you filter your data and want to start a labeling session or navigate to another page, your filter settings will not be saved! If you want to persist these settings, please save them as a data slice.
From filters to data slices
As filters are really useful to find patterns in your data, distribute labeling work, or validate heuristics, you naturally want to save them for later access. When you save a filter setting, you create a slice of your data that fulfills these filtering criteria, which we simply call a "data slice". This section will give you a comprehensive overview of the different types of slices and how they work in refinery.
Creating data slices
Once you selected your filtering criteria, you can create a data slice by pressing the "save filter" button on the bottom of the filter sidebar. After selecting to save the filter, a modal will appear that requires two inputs: the type of the data slice, and a unique name for it. Finally, press "save filter" and the new data slice should appear at the top of the filter sidebar.
There is a little color-coded information icon next to every data slice to indicate its type. You can also click on it for more information about the data slice, like full name, creation date, creator, and type. If you created a static data slice on the managed version of refinery, you can also view this slice as if you had the role of an expert to validate that this is something that you want to hand to an actual expert for labeling.
Types of data slices
There are two types of data slices that you might want to consider for different use cases: the static and the dynamic data slice.
The dynamic data slice only saves the filter settings that were used to create it. It does not have a state and therefore the filters are re-applied to your data every time you work with this data slice. So if you want to have your data slice up-to-date at all times, go with this option.
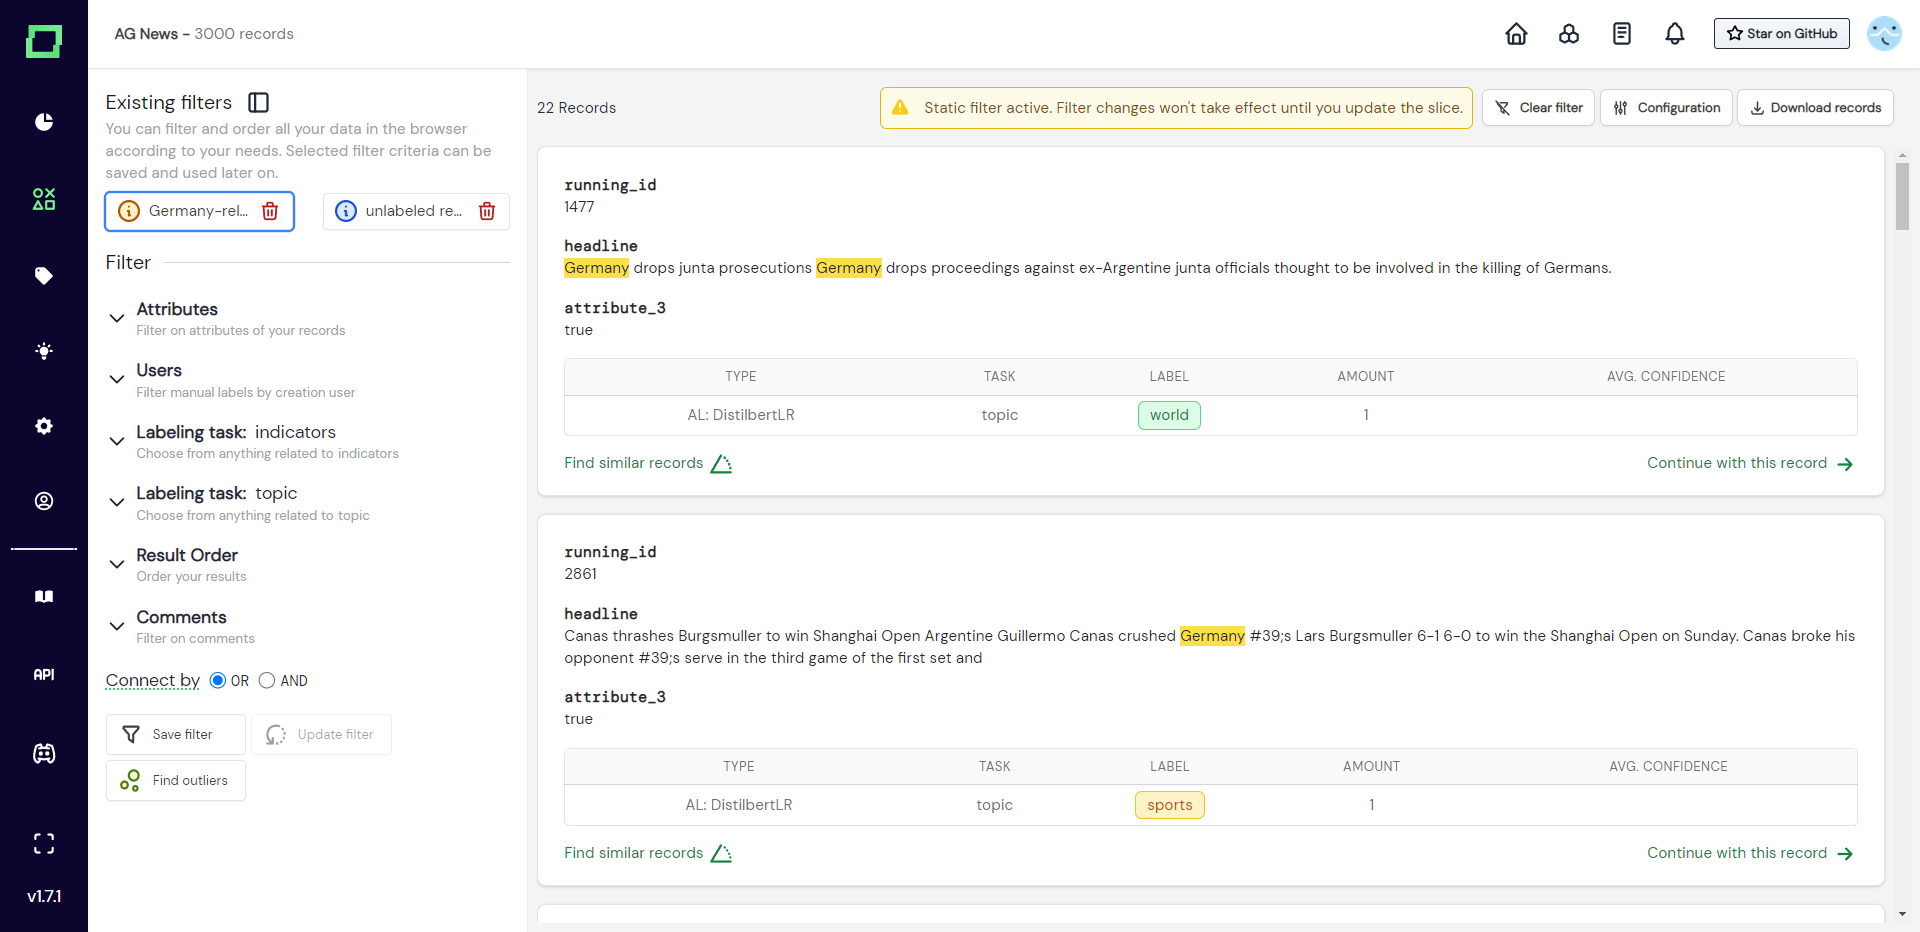
The static data slice on the other hand saves not only the filter configuration but also the records (or rather their indices) that are fulfilling the filtering criteria at the time of creation. When you re-select the data slice later in your project, only the saved records will be displayed even if they might not match the current filter criteria anymore. If there is, however, a difference in the number of records that were saved during creation and the number of records that would fulfill the filtering criteria at the time of selection, there will be a small triangle warning indication above the data slices at the top of the filter sidebar as well as an asterisk next to the count above the individual records. At that time, you can select to update your slice and it will then save the records that are fulfilling the filtering criteria at that moment.
If you want to monitor your data on specific data slices, you must use static data slices.
For efficiency reasons, the number of saved records in a static data slice is currently capped at 10,000.
Sharing data slices
This feature is reserved for the multi-user managed version of refinery.
Each static filter has a URL attached to it, which you can send to colleagues that have the expert or annotator role. Simply click on the info icon, click on the URL to copy it to your clipboard, and finally send it to your colleague. They will directly start in the expert labeling view after logging in.
If you need a refresher on the role system in refinery, head over to the role management page in this documentation.
Ordering
Every uploaded or usable attribute of your data that is not hidden will be available for ordering the results in the data browser. Additionally, you have the option to order by weak supervision confidence, model callback confidence, and by random (reproducible thanks to the seed).
You can order your results ascending or descending and there is no nested or combined ordering, so you have to select a single attribute or option to order by.

Similarity and outliers
The data browser integrates embedding-based outlier detection and similarity search. For full documentation on these features, please visit the neural search page.
Configuration
There are a few extra settings that would have been too much on the eye if we incorporated them directly into the UI, which is why they are collected under "configuration" on the top right of the data browser.
Highlight text (default enabled): When using attribute filters, you have the option to highlight the matching search terms in your records. This highlighting is not available for comparison operators like BETWEEN, GREATER, and LESS.
Only show weakly supervised-related (default disabled): This setting decides if the data browser shows all predictions from heuristics for each individual record or only those, that went into calculating the current weak supervision label.
Visible line breaks (default disabled): This setting changes the display of your attributes. If checked, the data browser and labeling page will display the line breaks that are in your text attributes. When disabled, line breaks will be ignored for a more compact view.
IN operator selection (default ,): This setting determines which separator you use for the IN operator of the attribute filter and is mostly only needed if you want to search for something that contains the current separator, in which case you can switch it. Available options are a comma and a dash.
Examples and best practices
This is a small collection of best practices that we found useful in a labeling project. We will expand this section with time, so check it every once in a while for new inspiration!
Finding label mismatches
You can also use the labeling-task-specific drawers to select for potential labeling mismatches. As you can order by the weak supervision confidence score, this makes it easy to either find manual labeling errors (i.e. there is a mismatch and the weakly supervised label has a high likelihood) or weak supervision bugs.